Use toggle
You will learn how to use an existing toggle on the FeatureProbe platform, and observe how the configuration changes of the toggle affect the display of the demo webpage we provide.
The main platform operations you will learn include:
- Enable a toggle
- Add a user to the toggle's whitelist
- Modify the percentage rollout of a toggle
- Add a variation
This tutorial does not require any programming ability, and it is suitable for users of various roles to understand the platform functions.
Login the learning account
Open the learning environment in the browser: https://featureprobe.io/demo/, fill in your email address, and enter the learning environment exclusive to you.
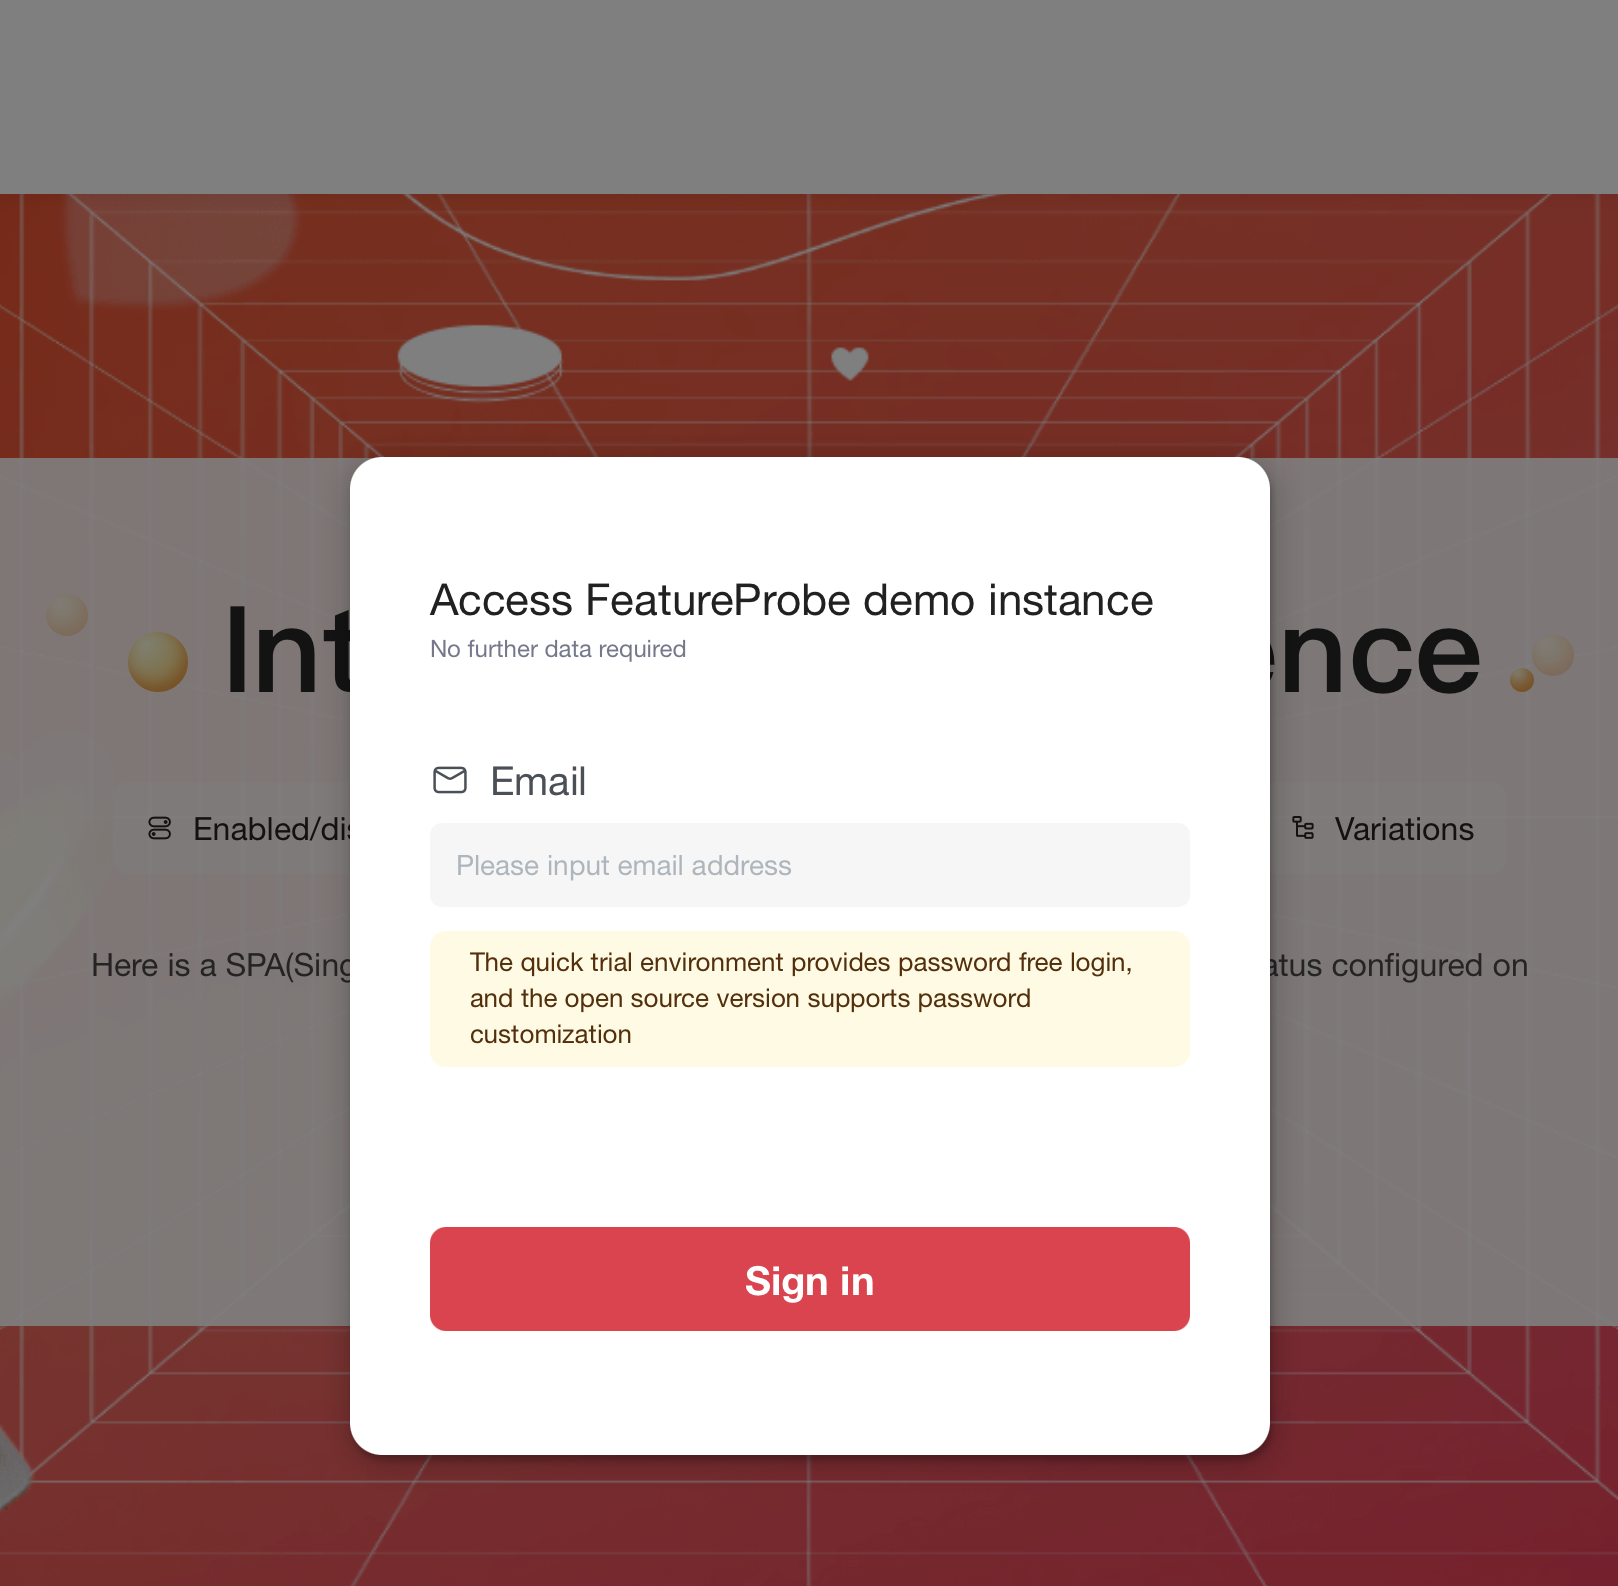
https://featureprobe.io/demo/ is a demo page, and we will control the display of this page through the FeatureProbe platform. After filling in your email address and logging in, you can jump to the FeatureProbe platform through the prompt link on the demo page, or you can directly visit https://featureprobe.io to enter the platform.
『Enable』 a toggle
You will learn to how to enable a toggle.
Operate "Enable"
- From the first task on Demo Page, click to enter the toggle Campaign Enable.

- Turn the "Campaign Enable" toggle "Enable", click the Enable button next to "Status", and then click the "Publish" button.
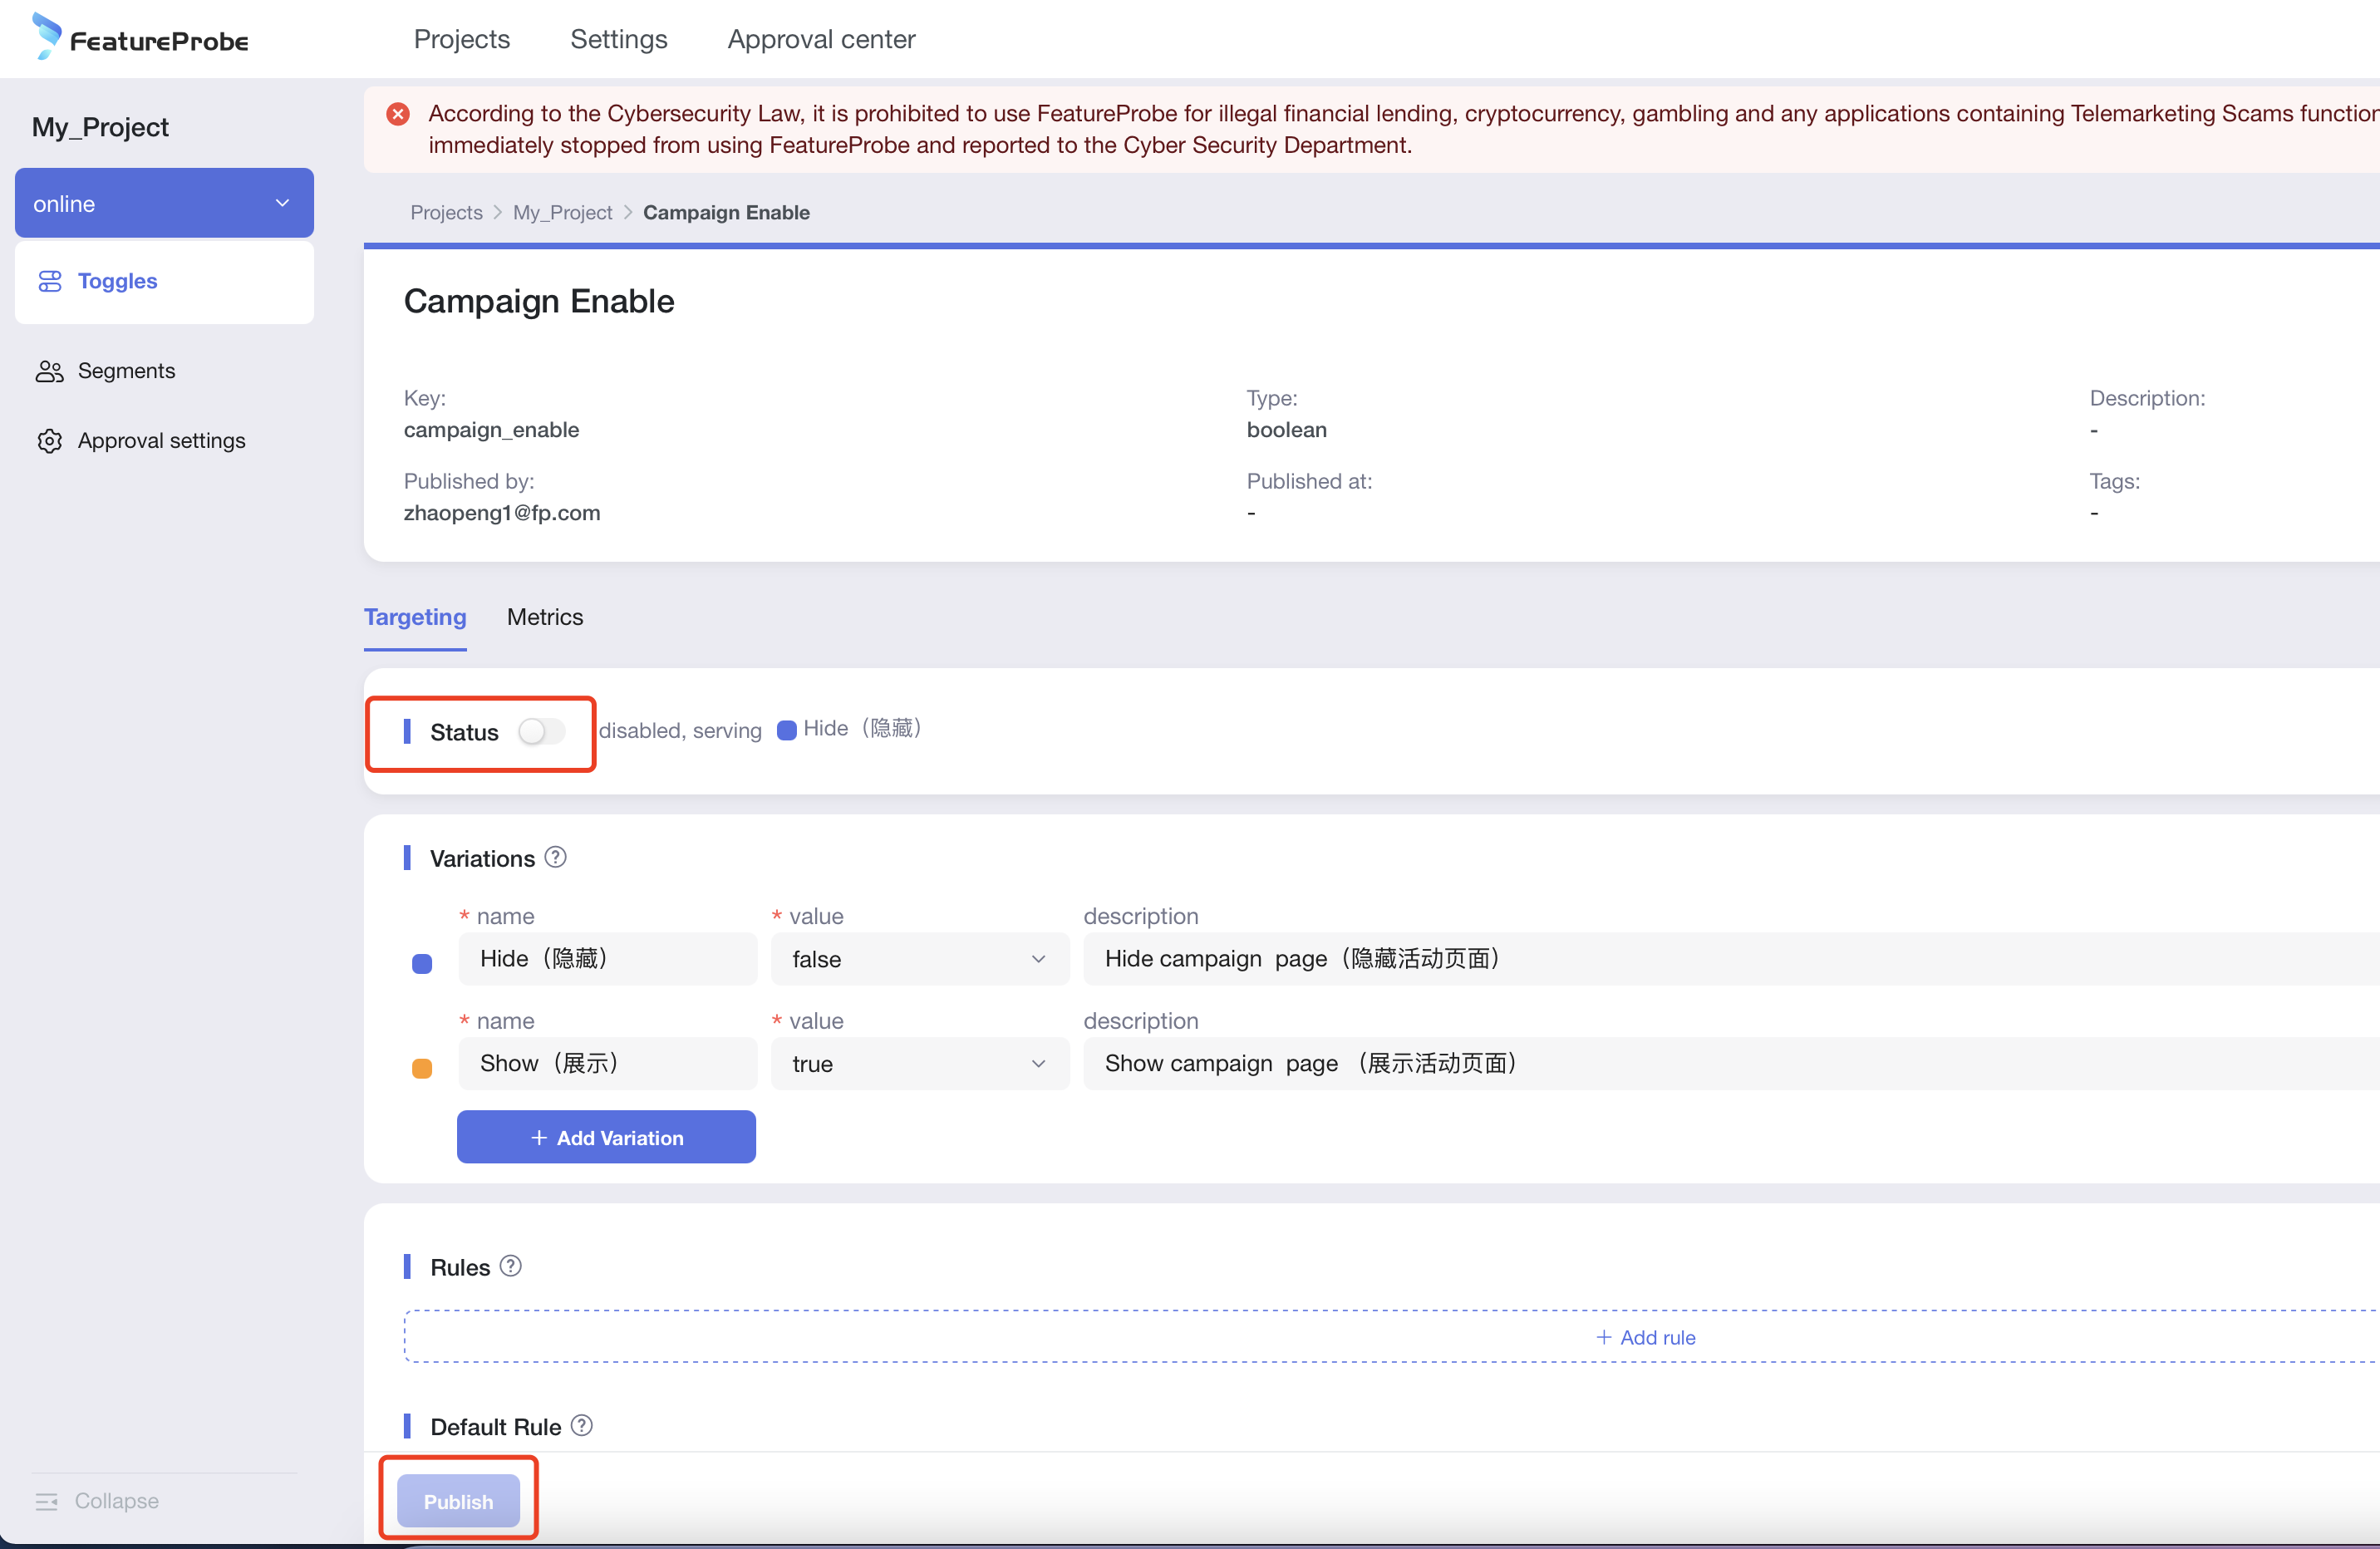
After the toggle is created, it is not "enabled" by default, and the configuration of the toggle needs to be "enabled" to take effect.
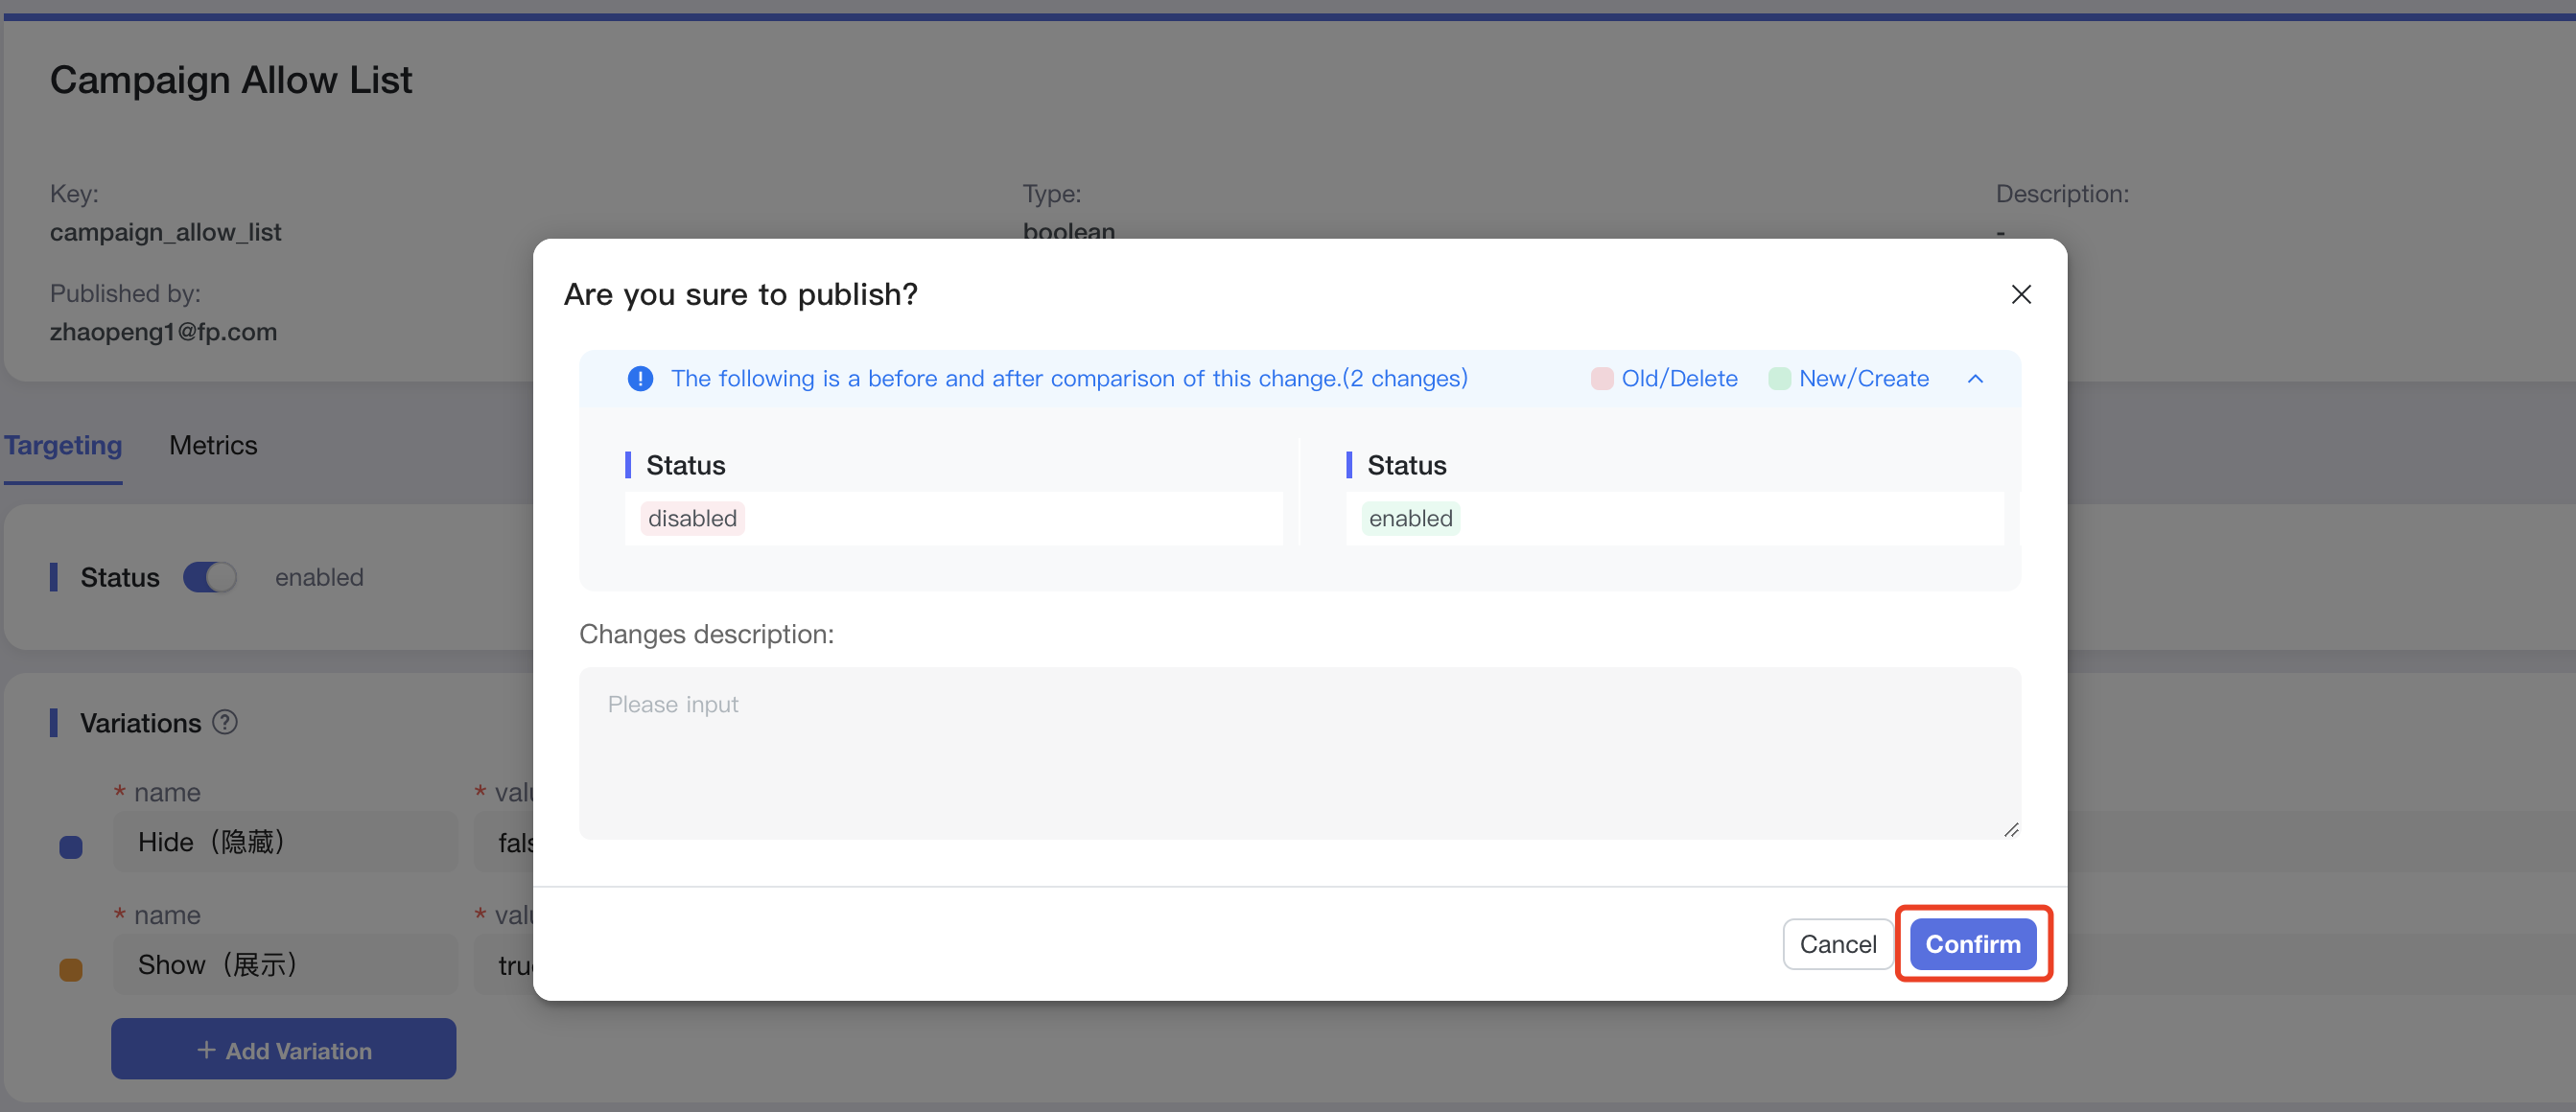
- Click "Confirm" to publish.
Validate result
Come back to the demo page: https://featureprobe.io/demo/, you can see to the page changes.
Before publishing:
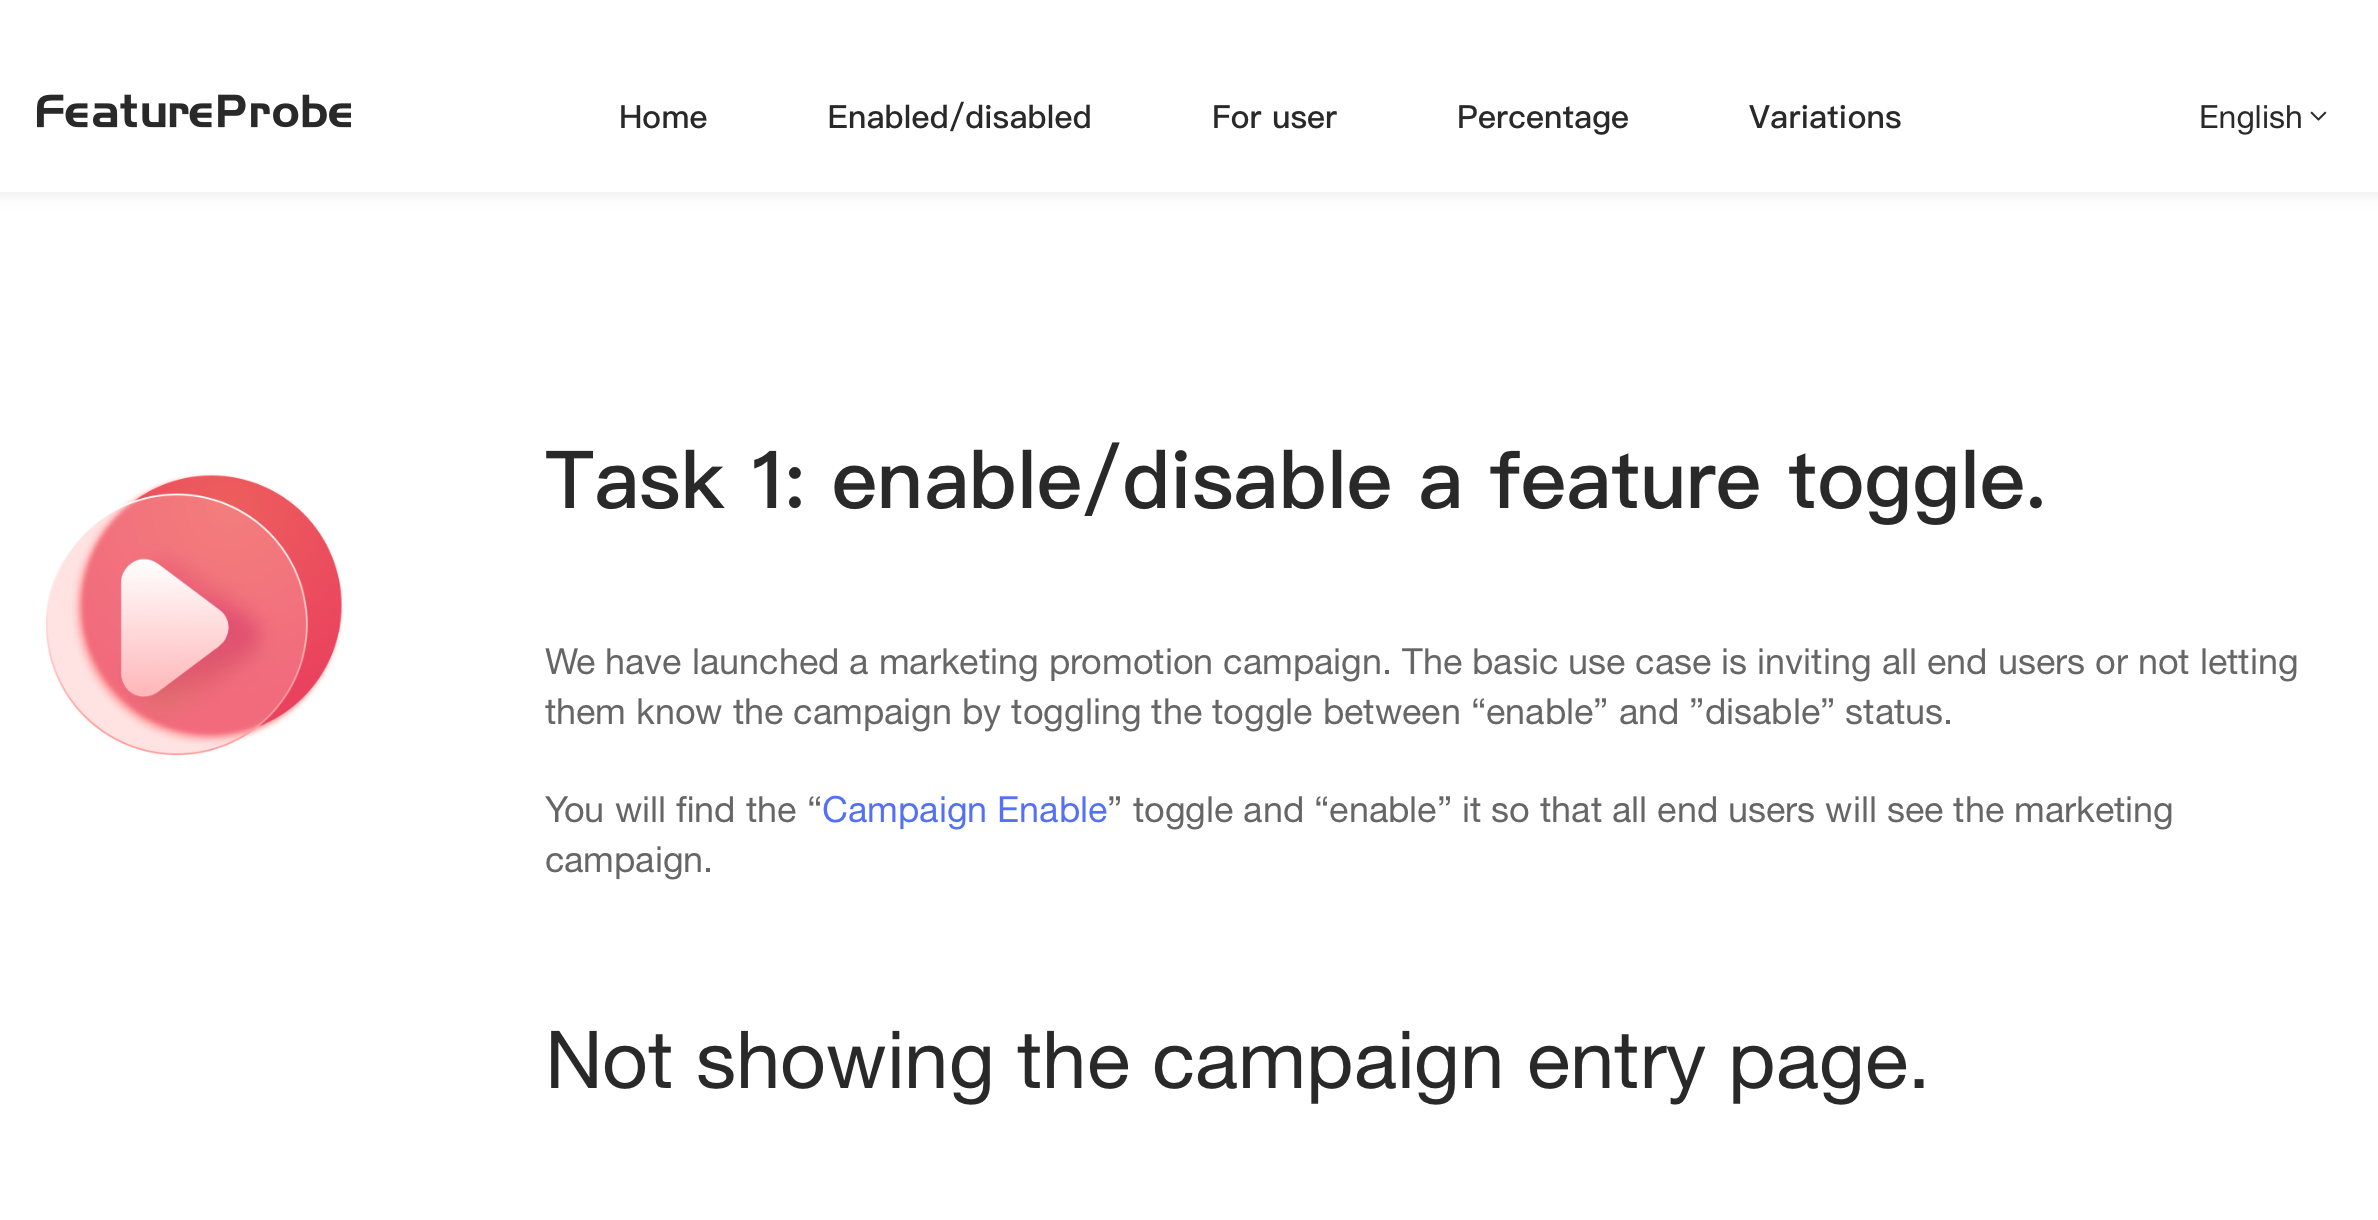
Becomes:
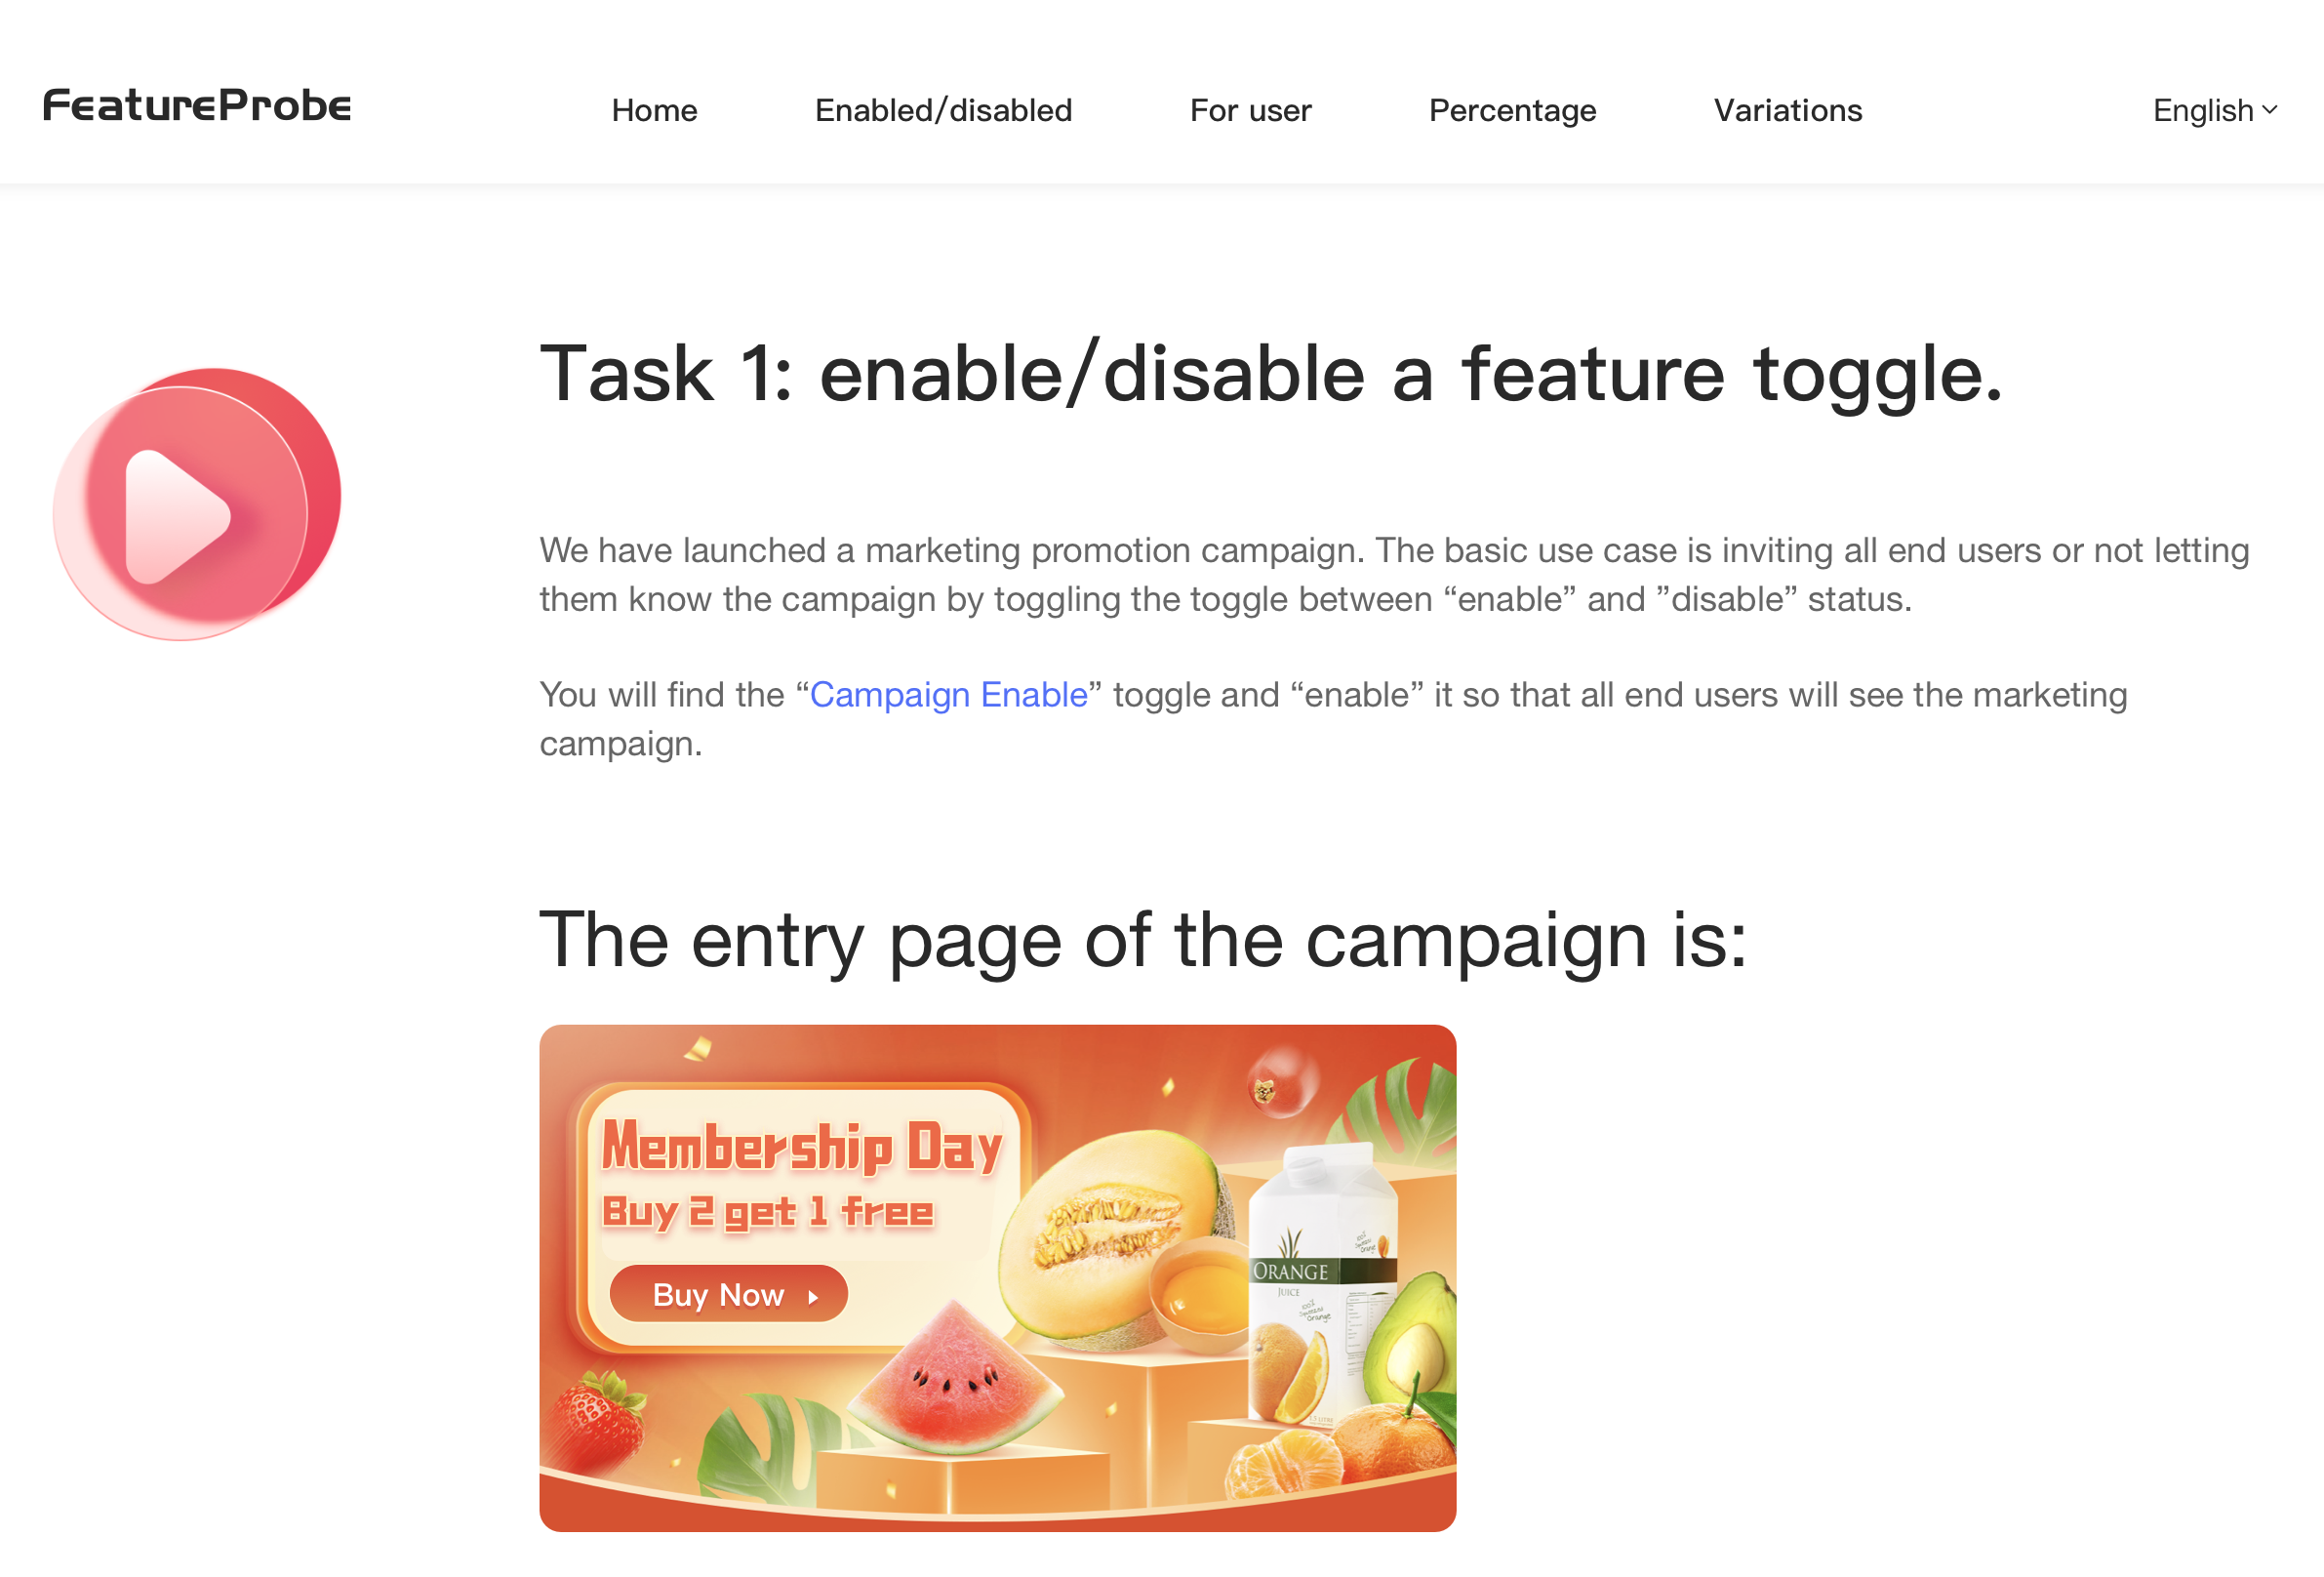
There may be a slight delay in page refresh. After the release is complete, you can also manually refresh the demo page to view the results.
Here we have experienced how to enable a toggle, and after Enable a toggle, users of the demo page can see the pictures that they could not see before.
Edit toggle rules
Learn to add an ID that can enter a whitelist in a whitelist rule.
Operate "Rule"
- From the second task on demo page, click to enter the toggle Campaign Allow List.
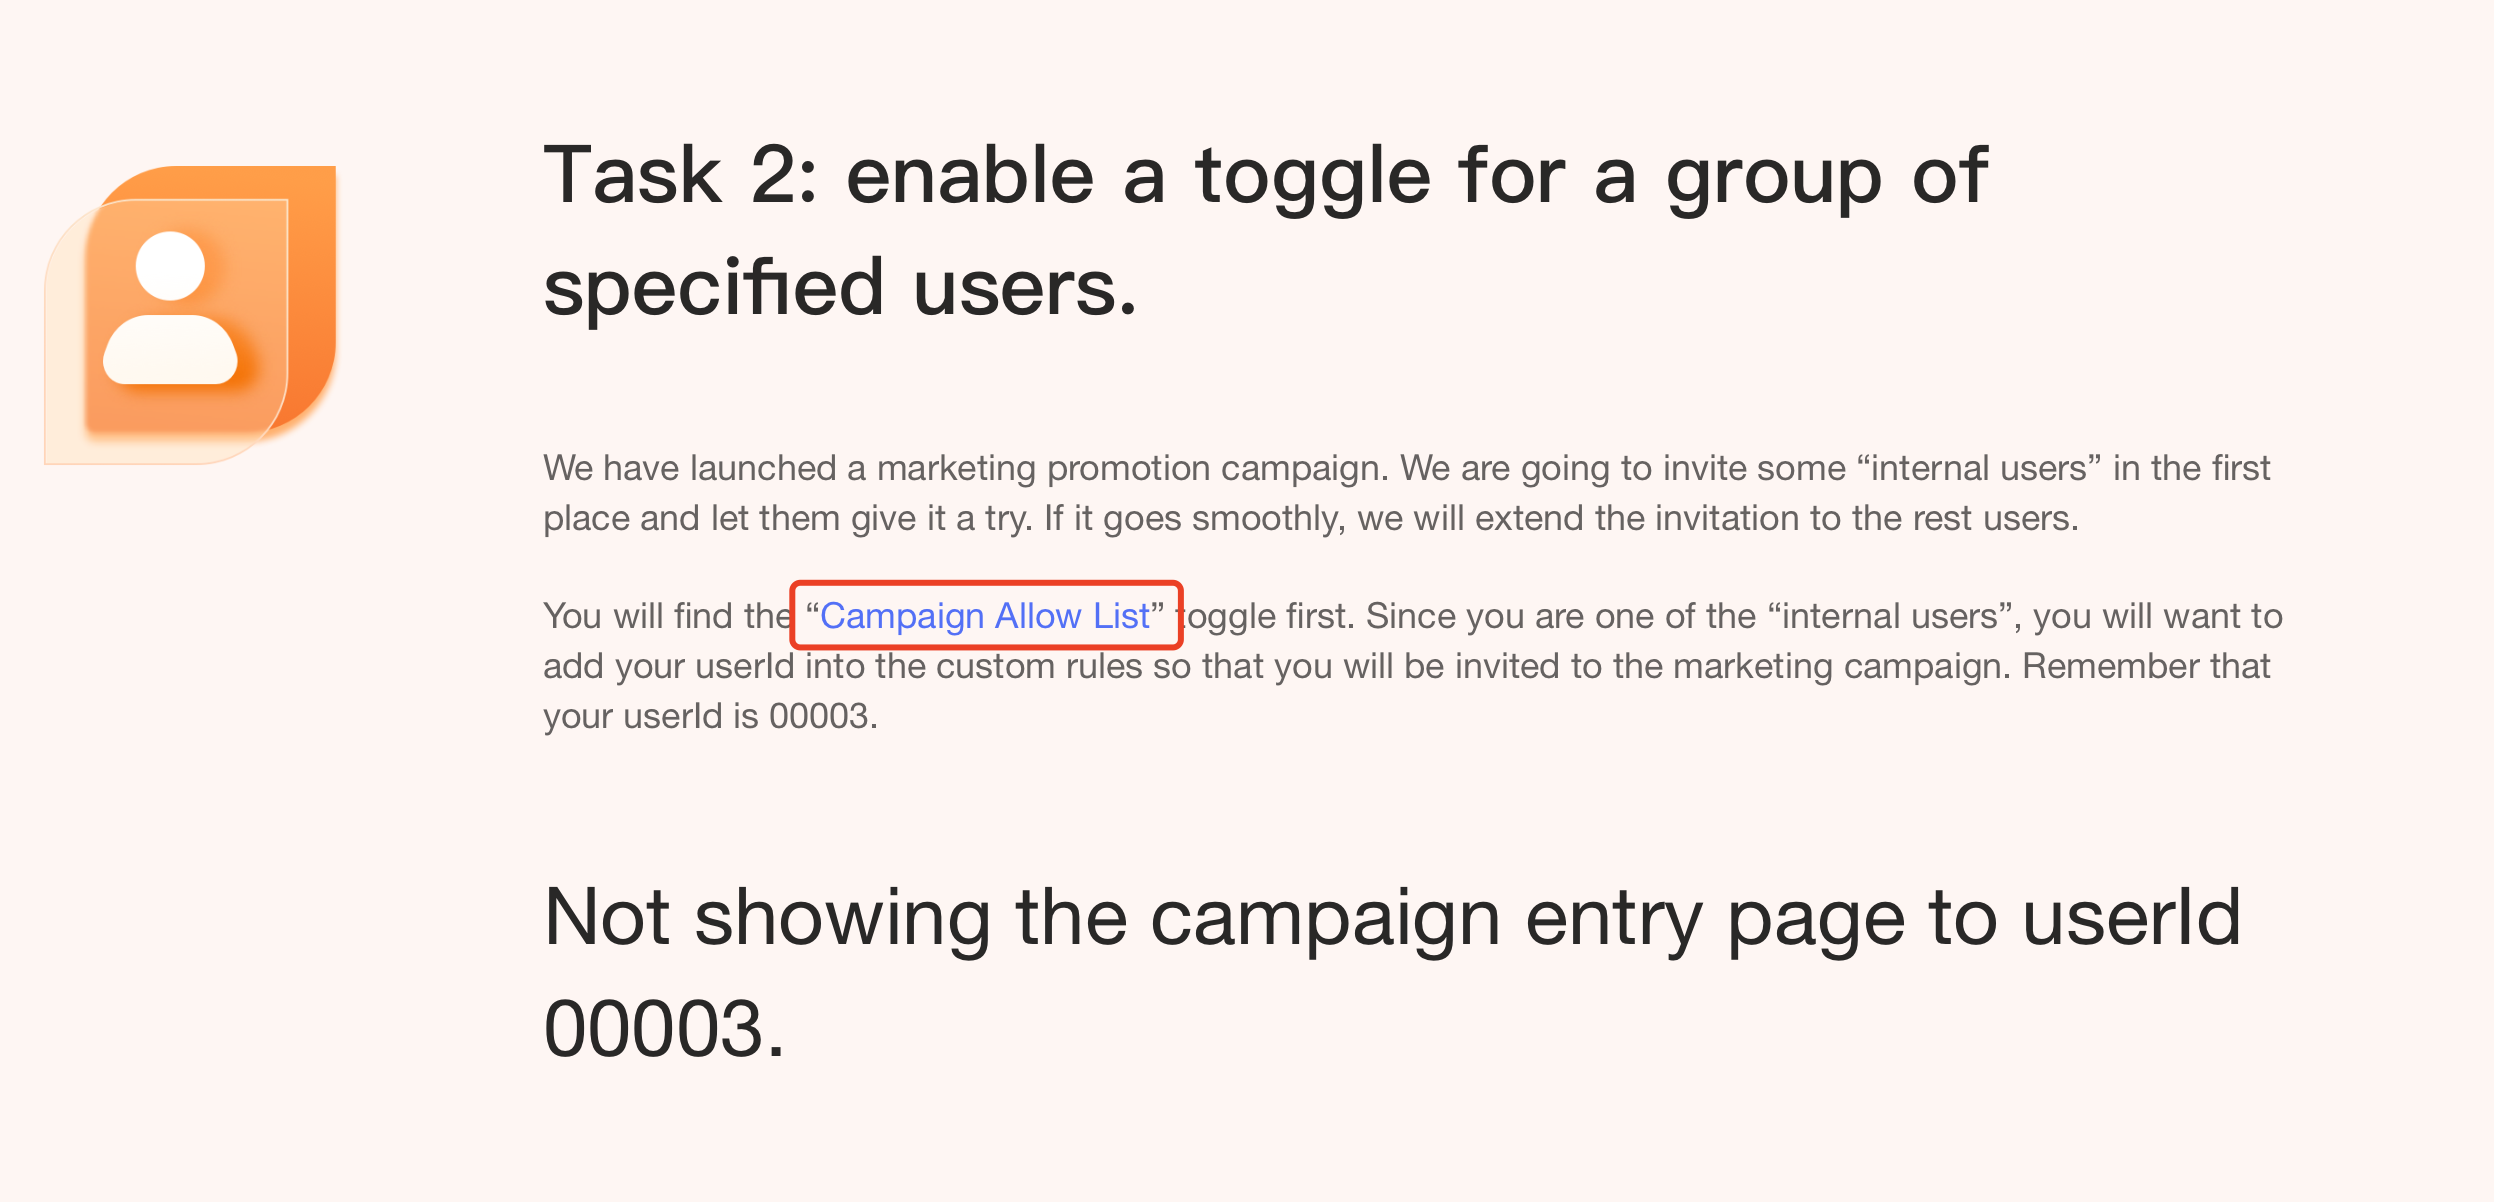
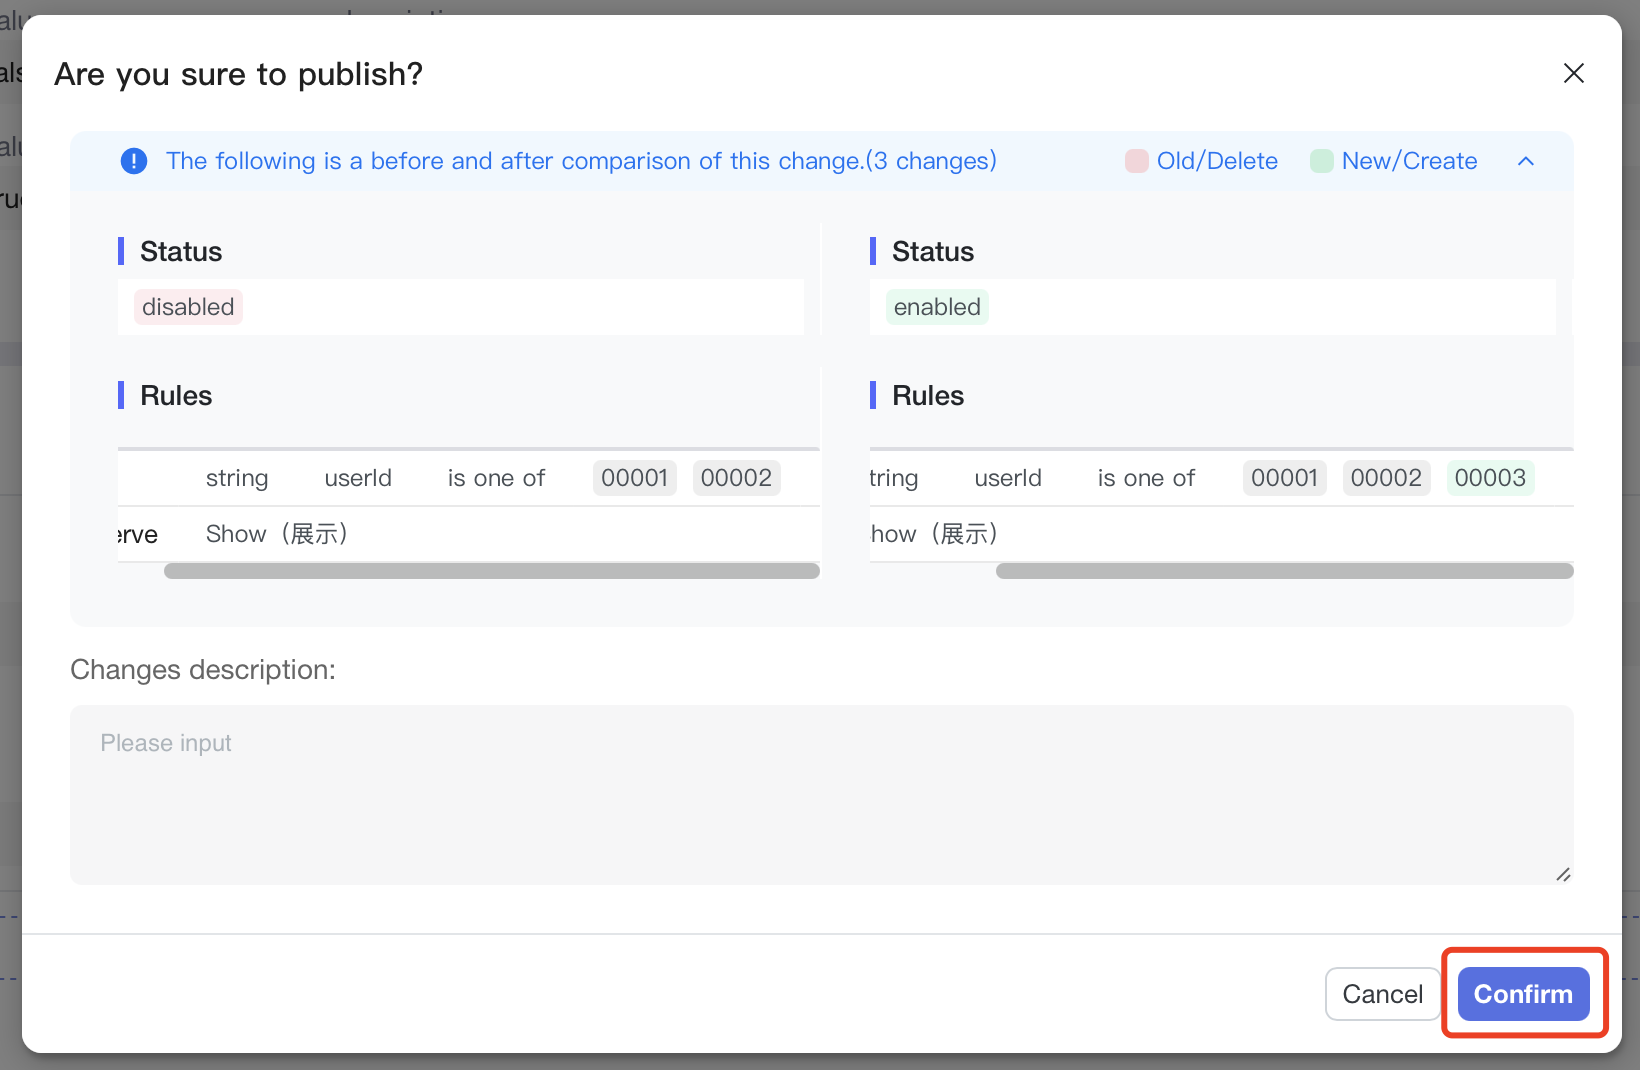
- Add a userId to the whitelist of
rule 1: 00003 (that is your current ID), and click Enter.
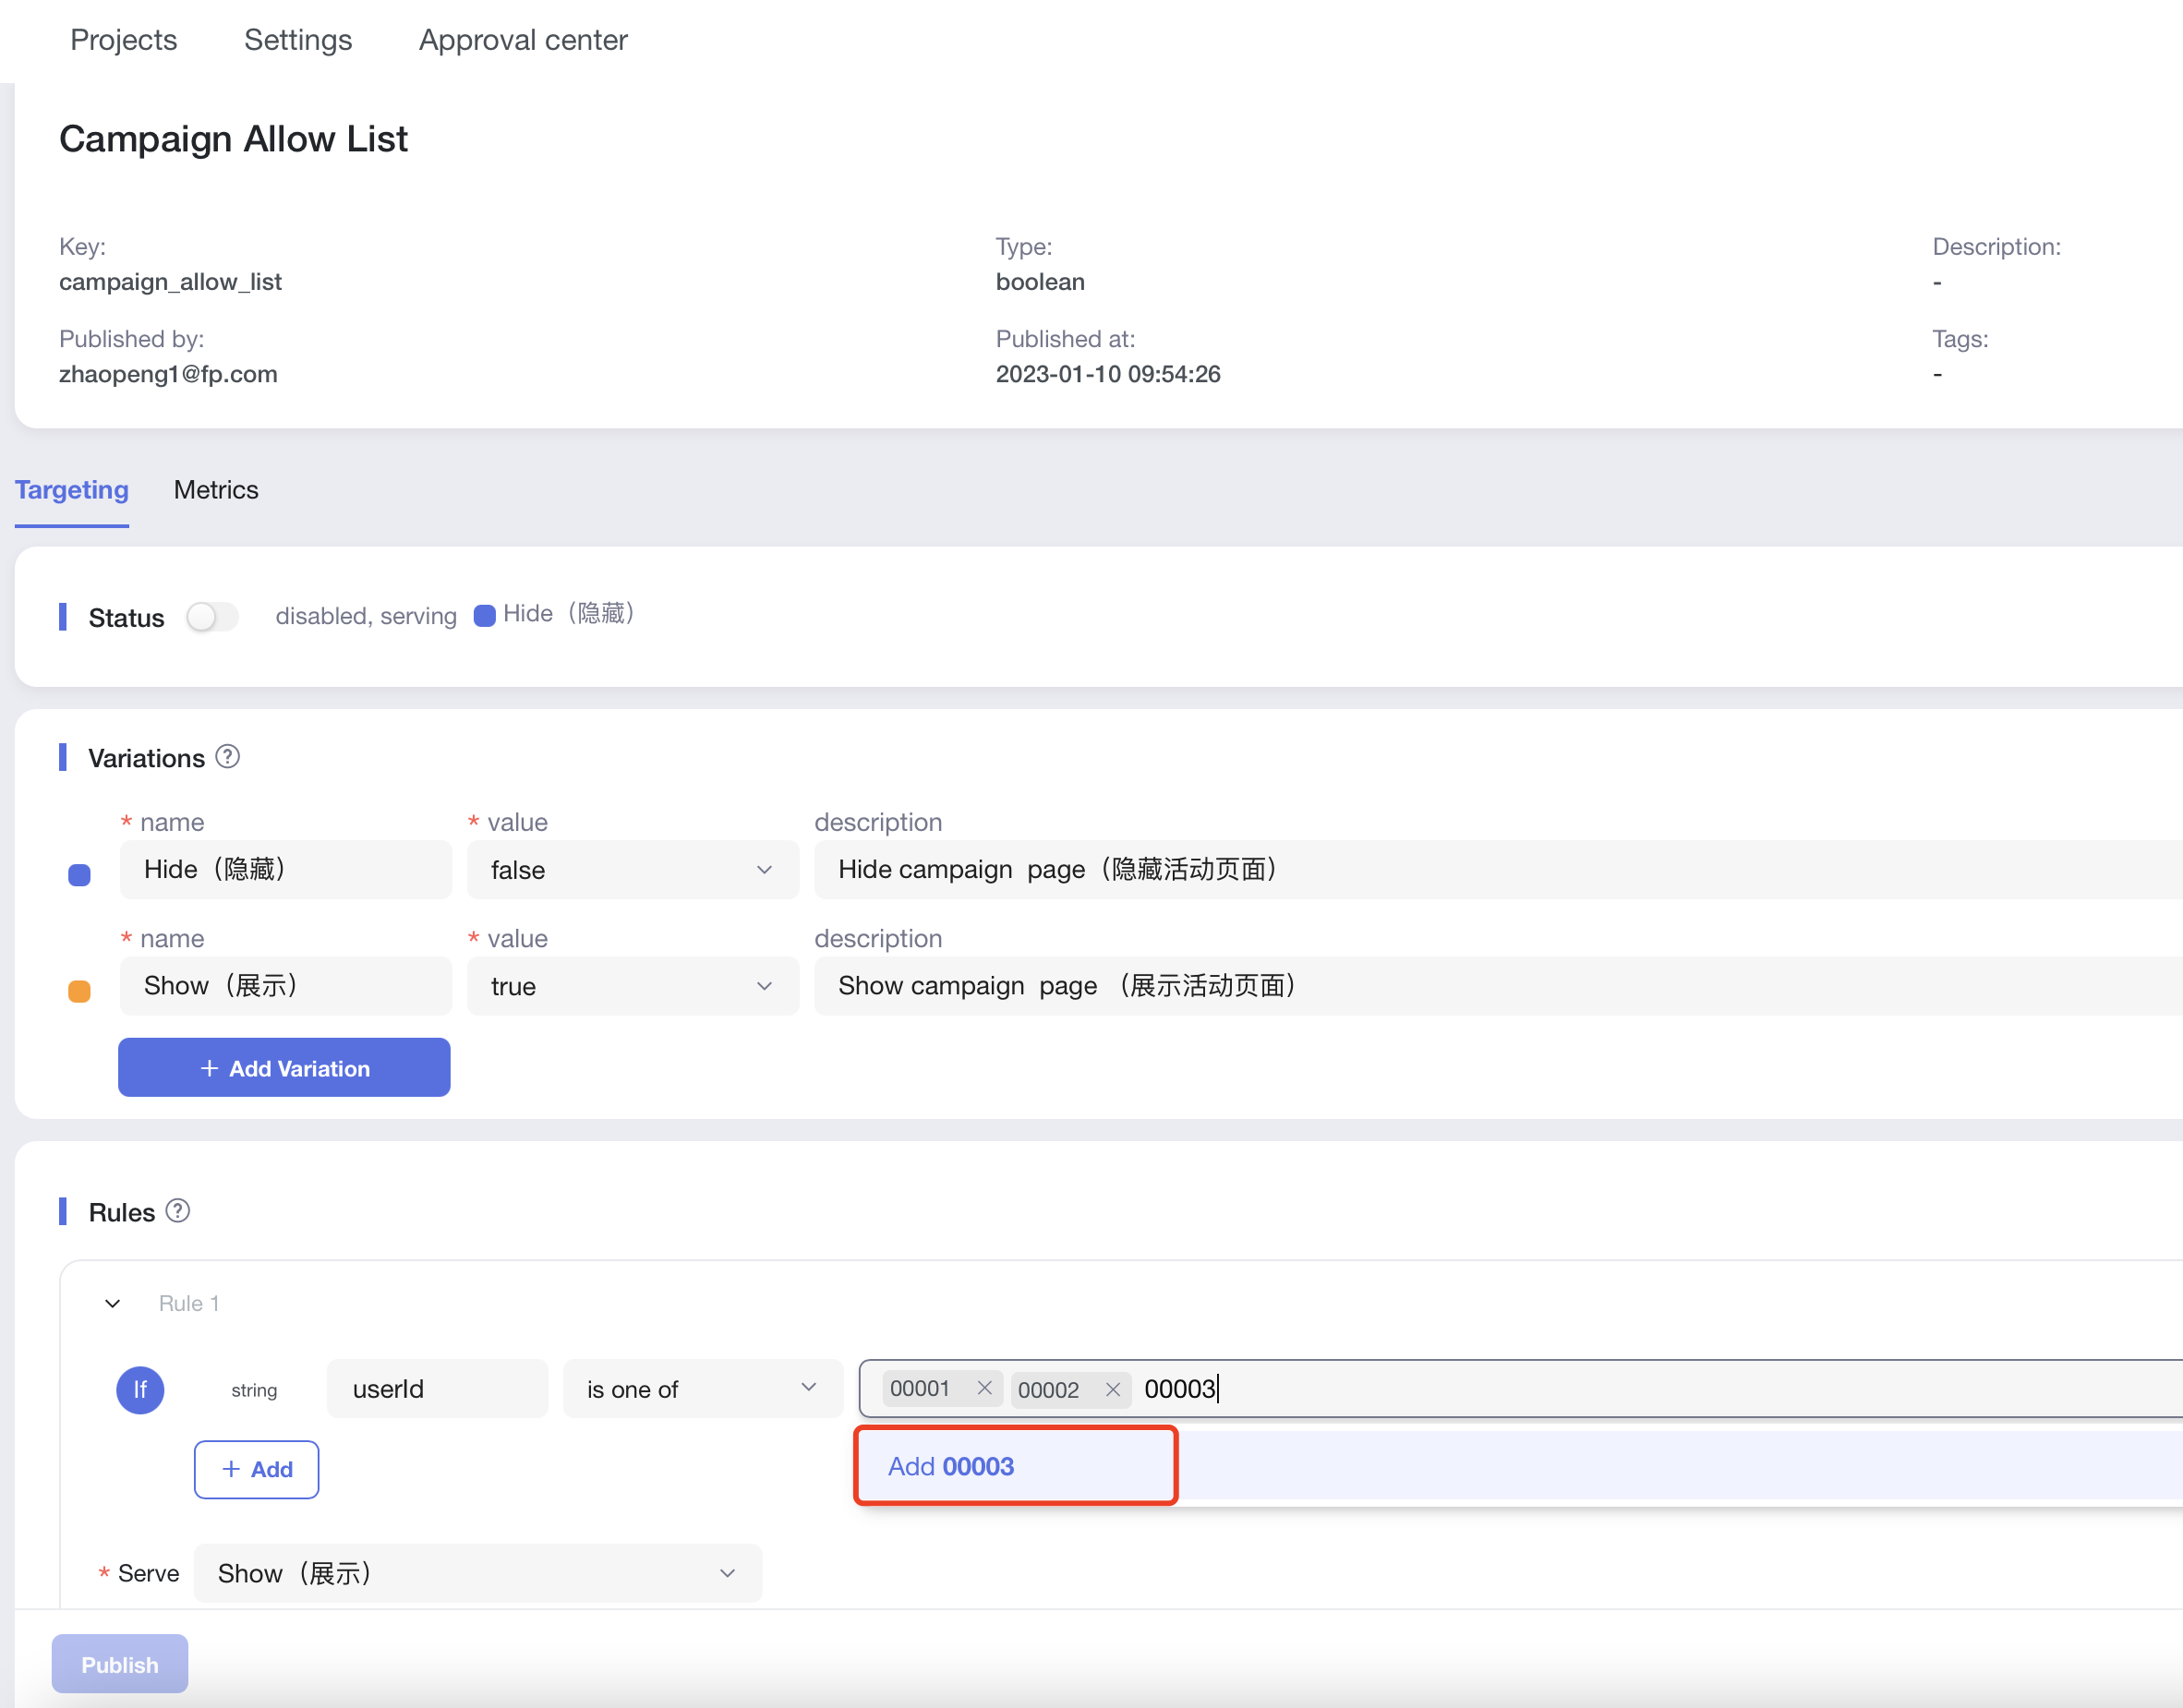
- Click "Publish" below and "Confirm".
Validate result
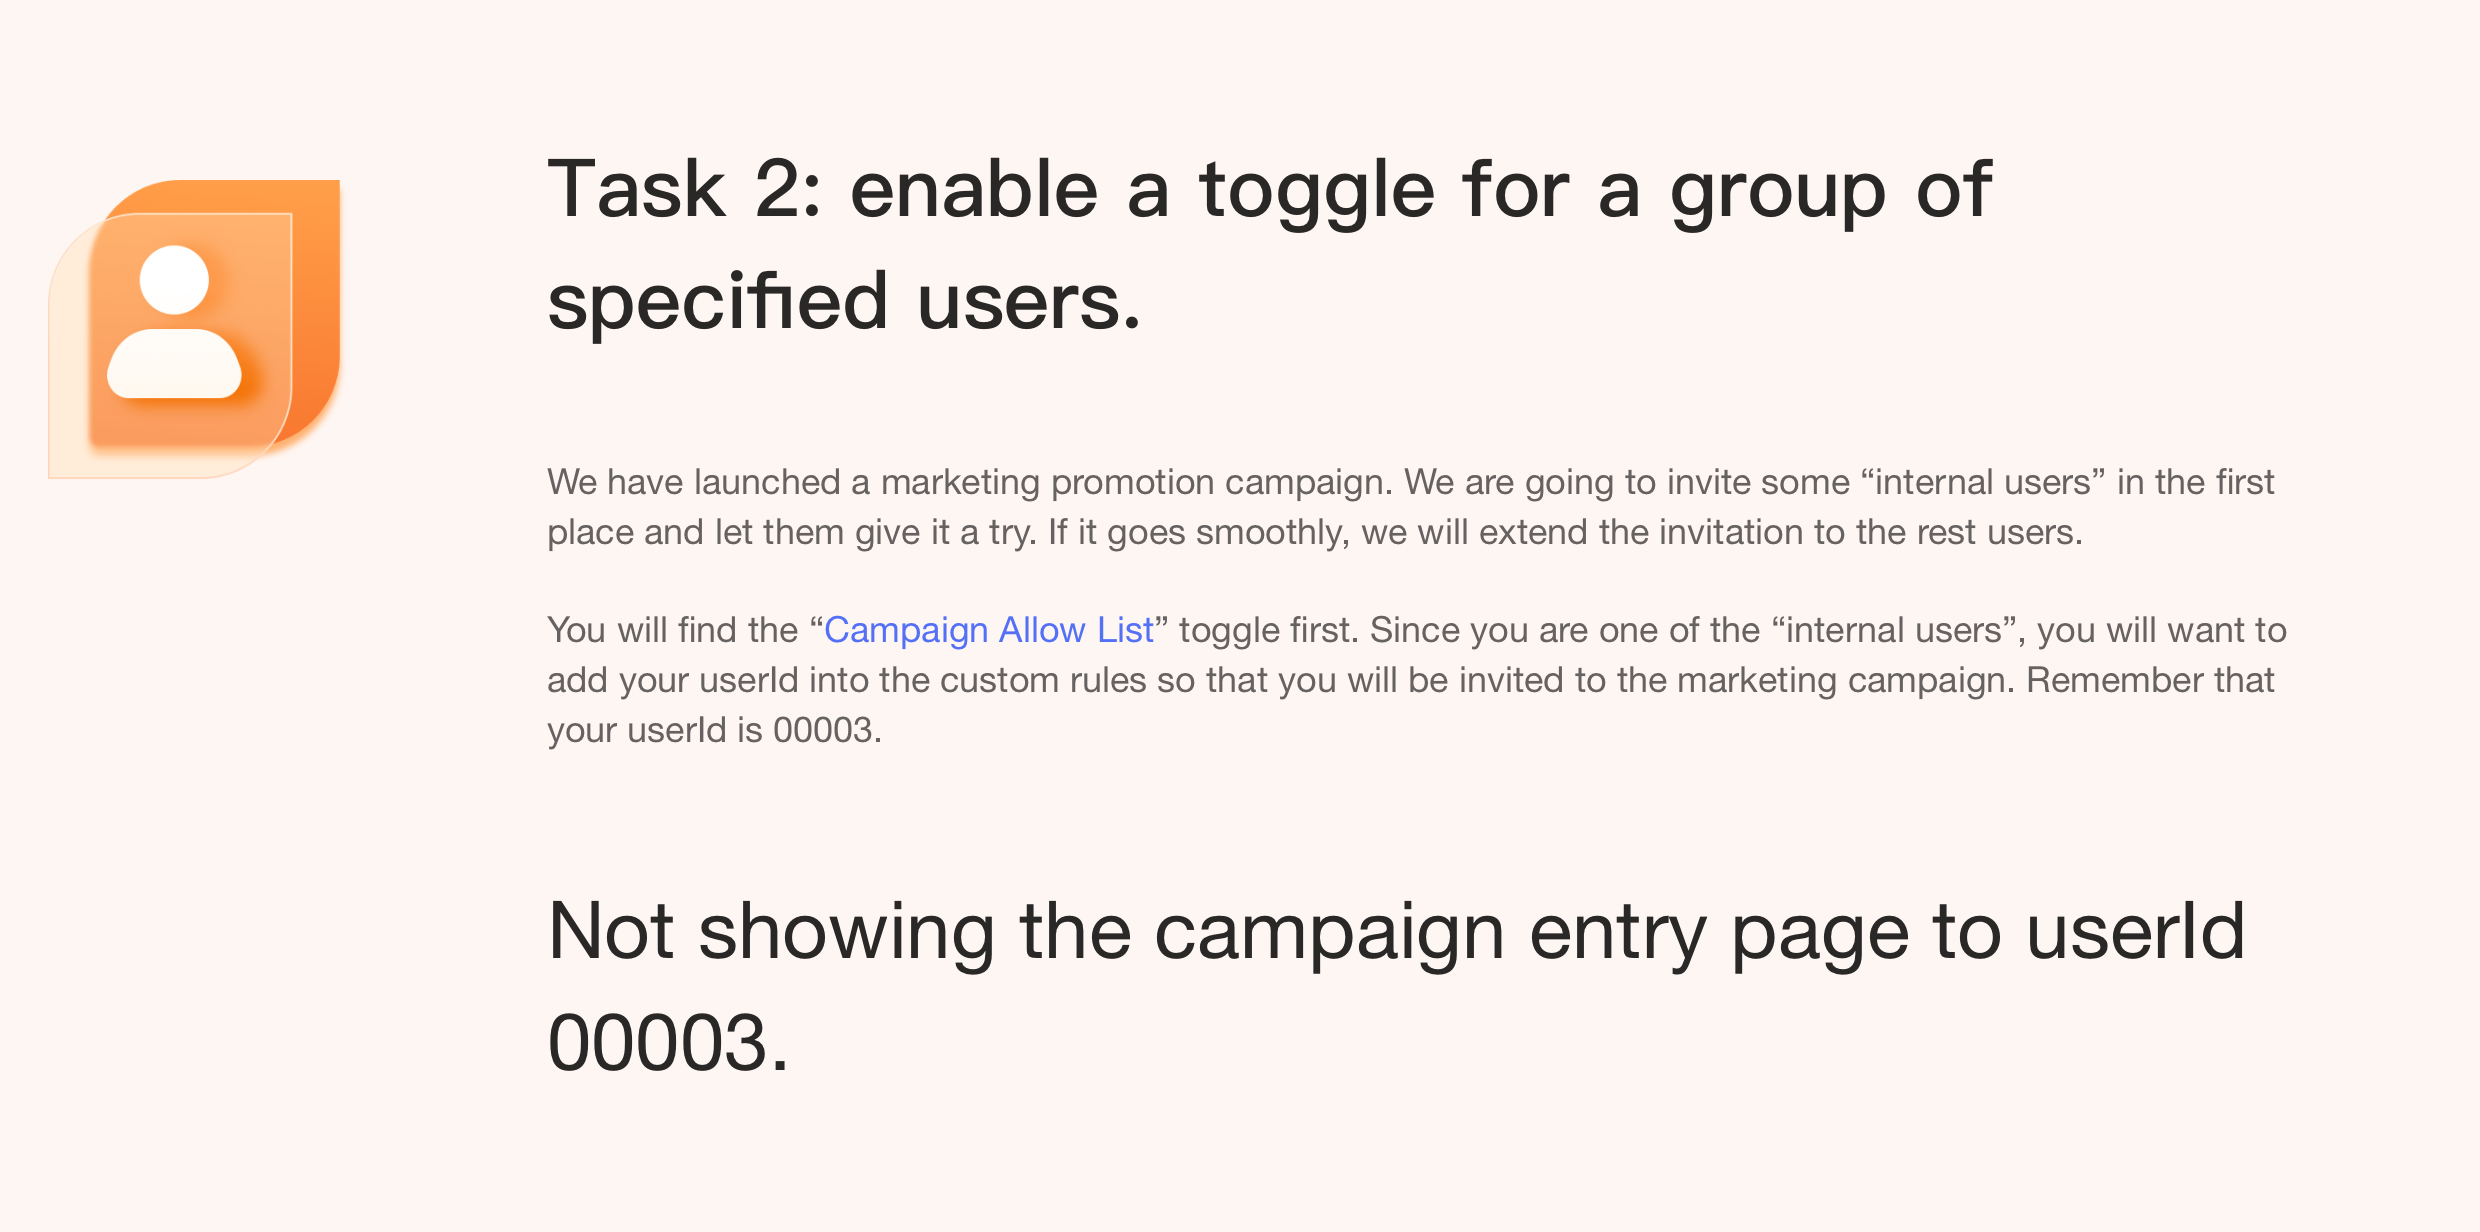
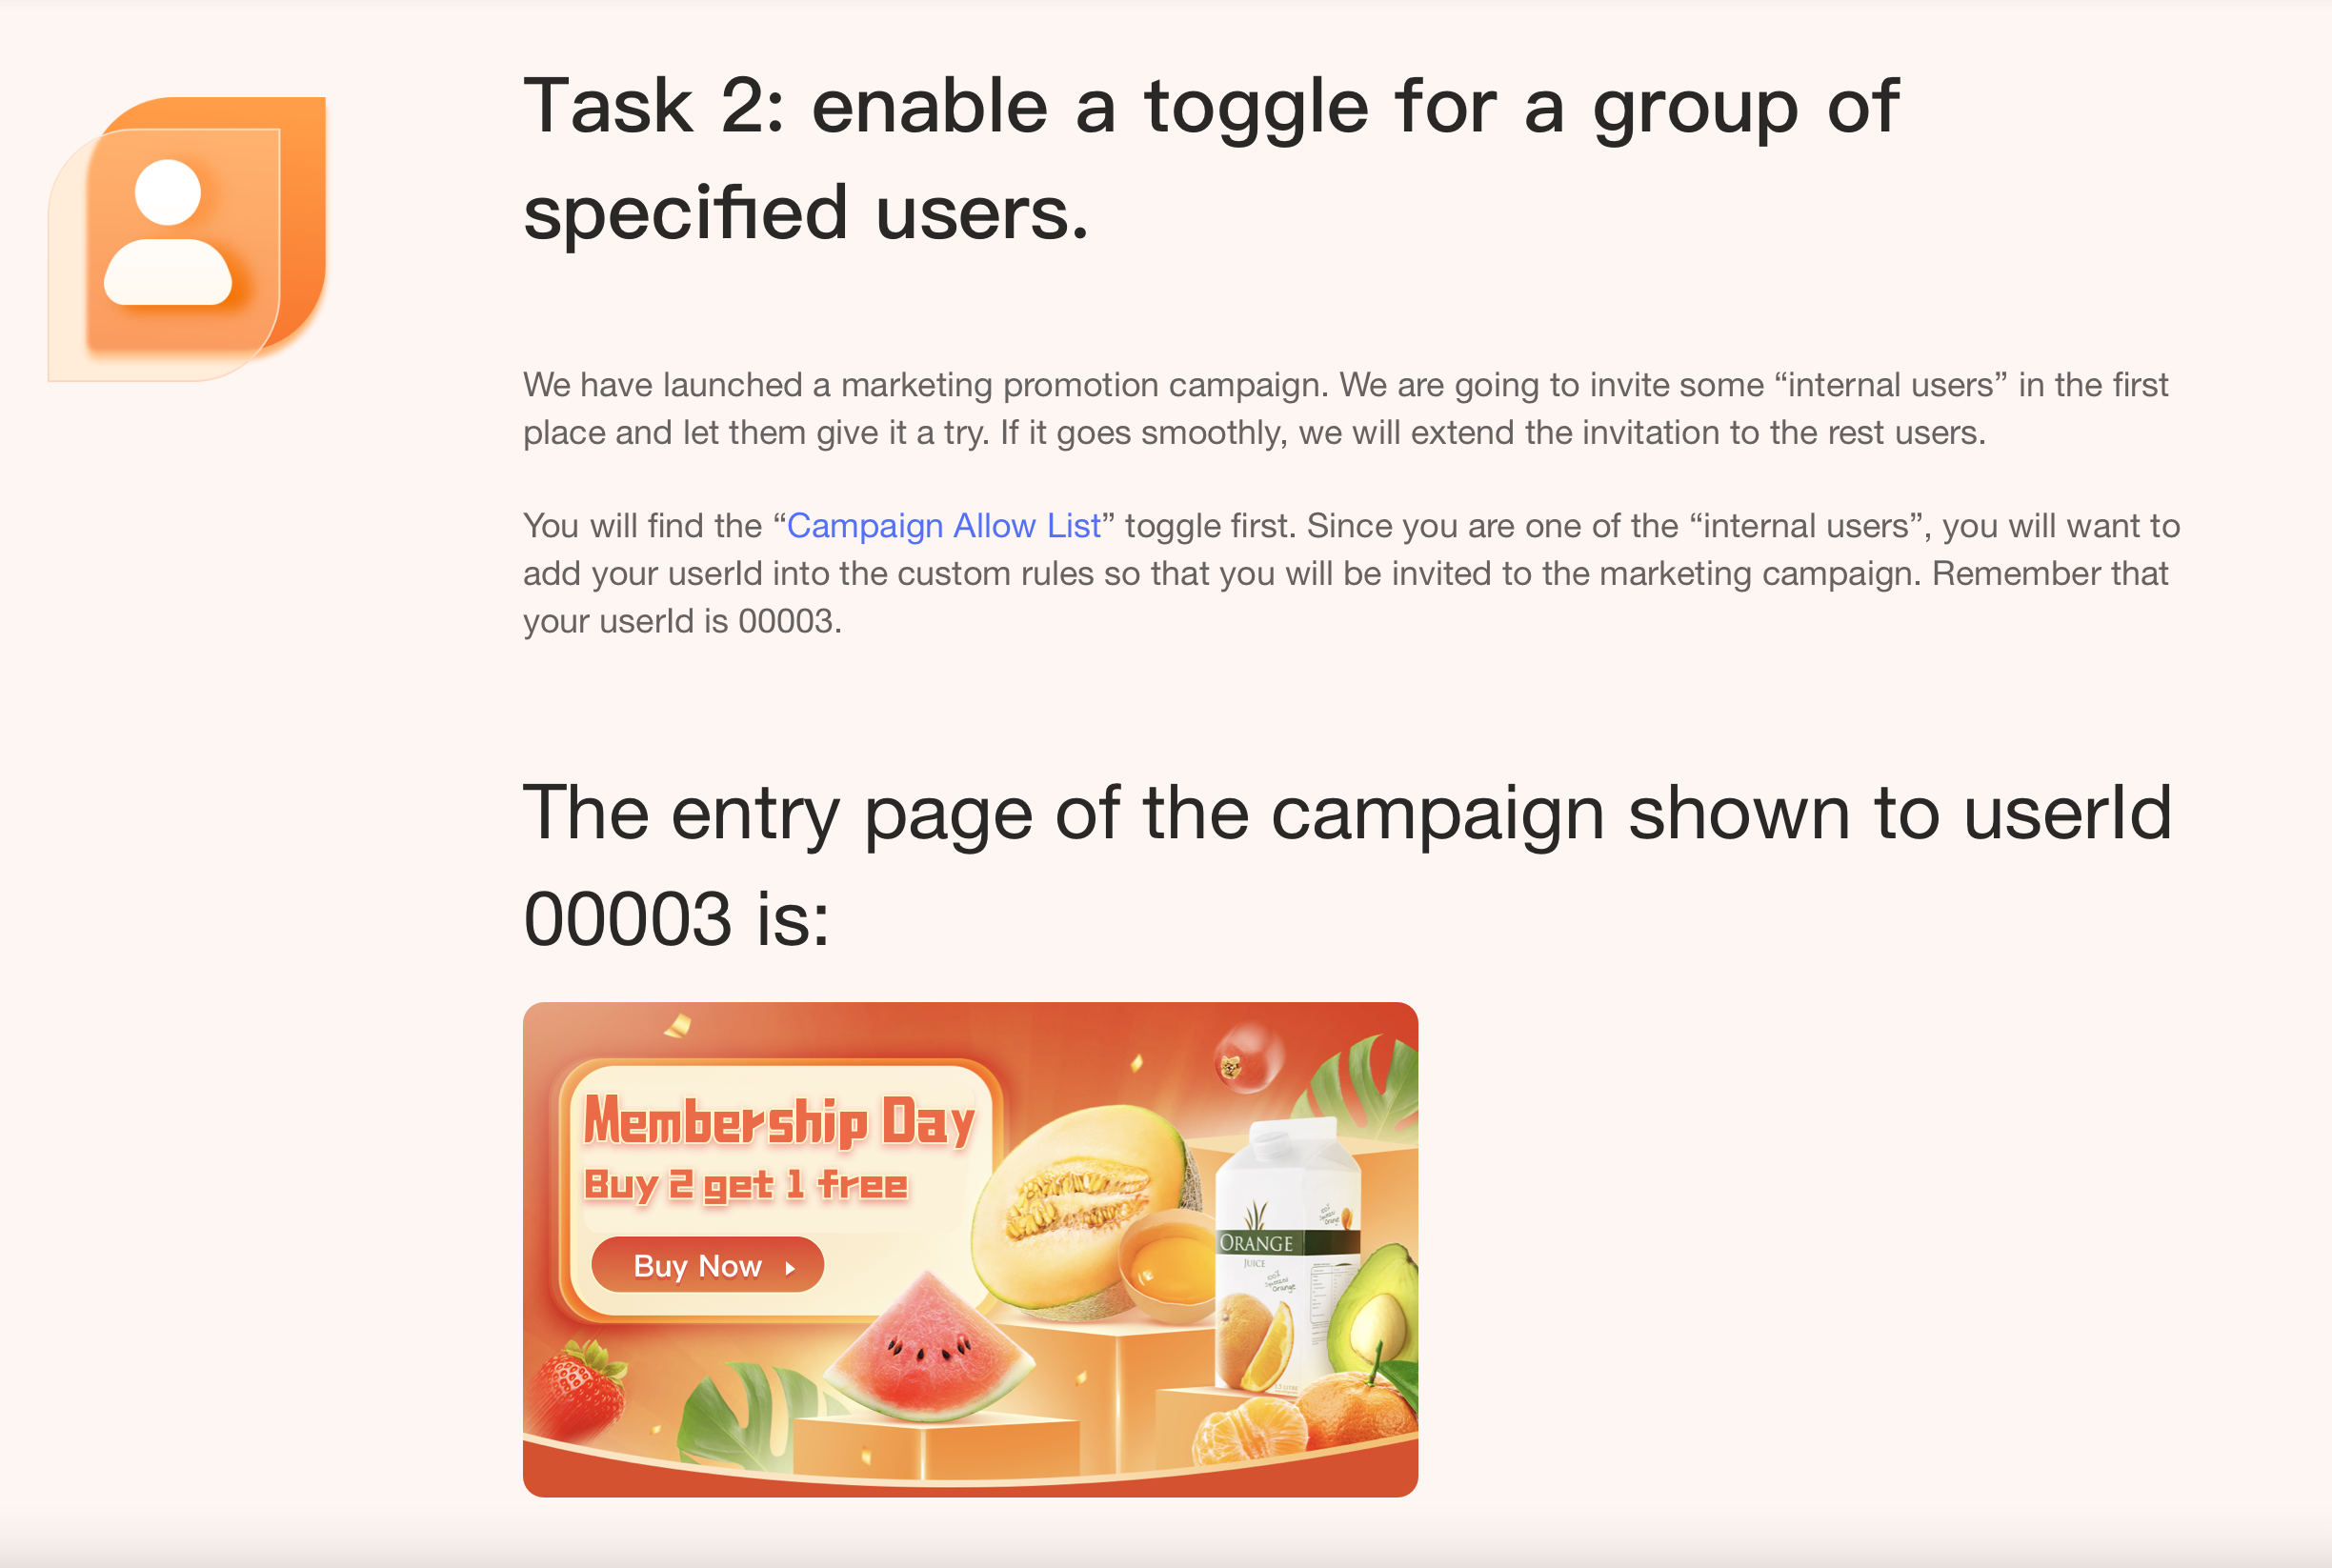
Come back to the demo page: https://featureprobe.io/demo/, now you as a user with userId 00003 can see the page changes.
Before publishing:
Becomes:
Modify the percentage rollout
Learn to modify the percentage of gradual rollout. Let yourself (userId 00003) enter from a non-gradual user to a gradual user.
Operate "Rule"
From the third task on demo page, click to enter the toggle Campaign Percentage Rollout.
In
Default Rules, increase the percentage of Show(展示) to 90%, and adjust the percentage of Hide(隐藏) to 10%.
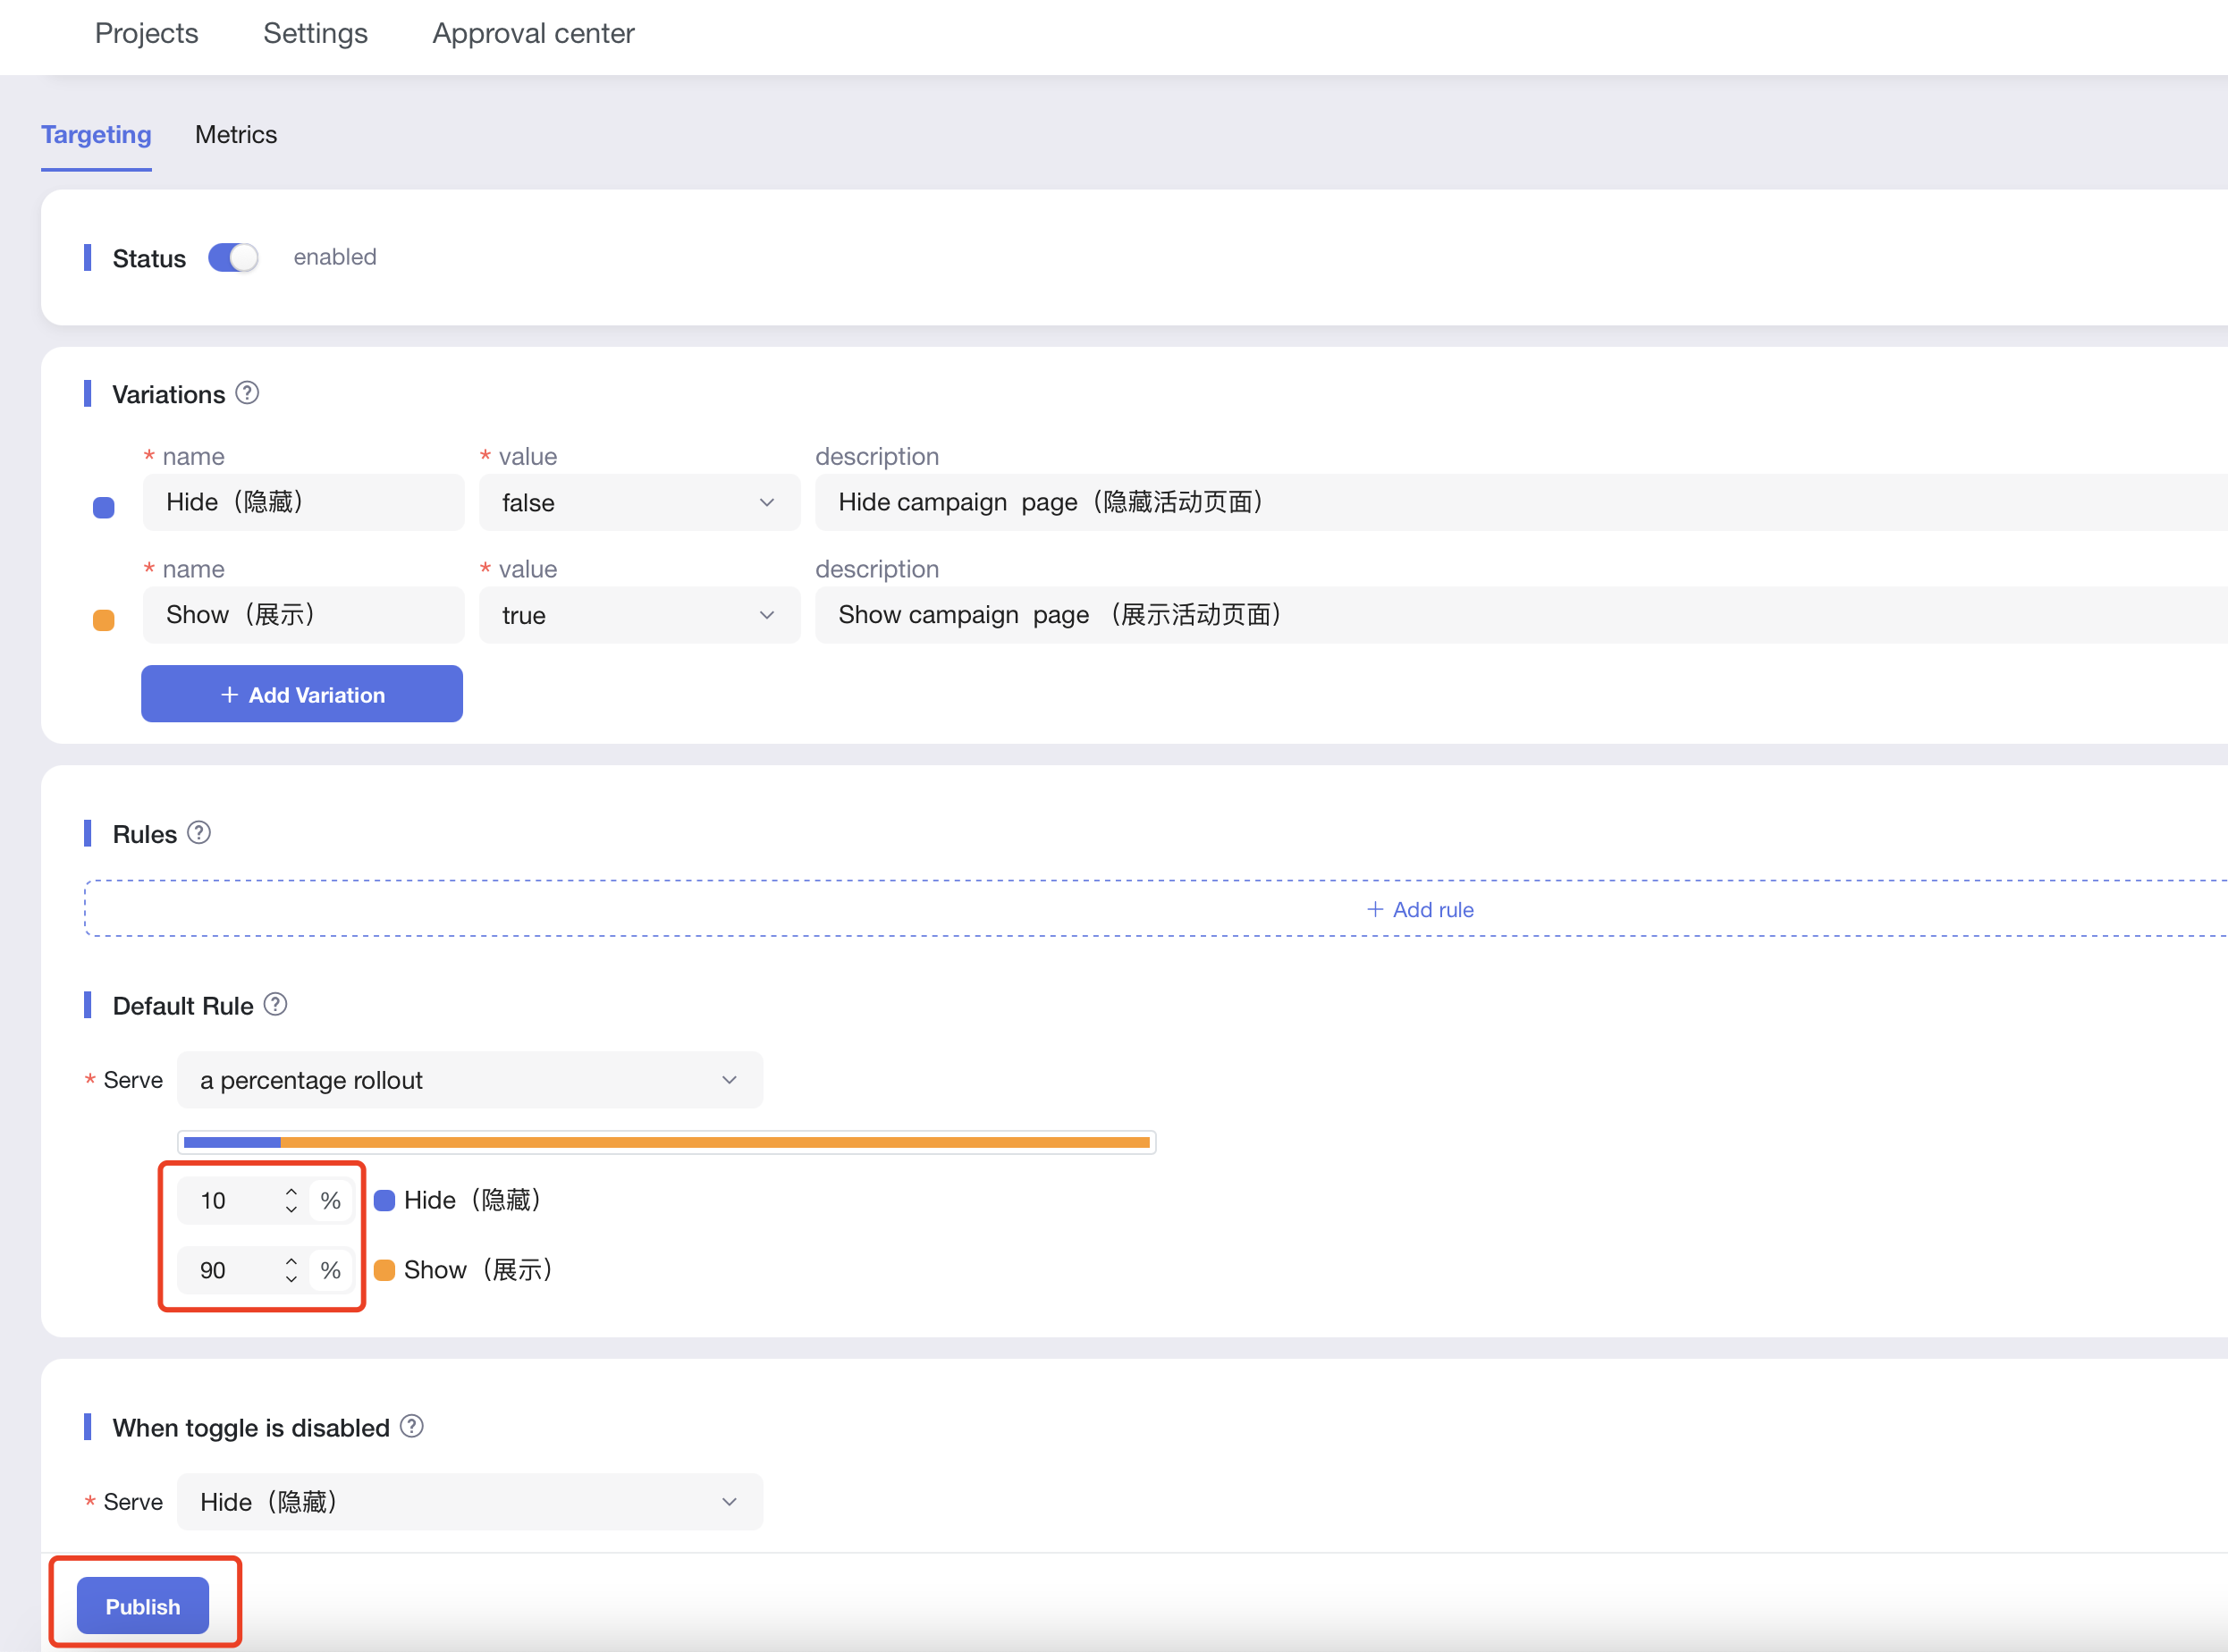
- Click "Publish" below and "Confirm".
Validate result
Come back to the demo page: https://featureprobe.io/demo/, now you as a user with userId 00003 can see the page changes.
Before publishing:
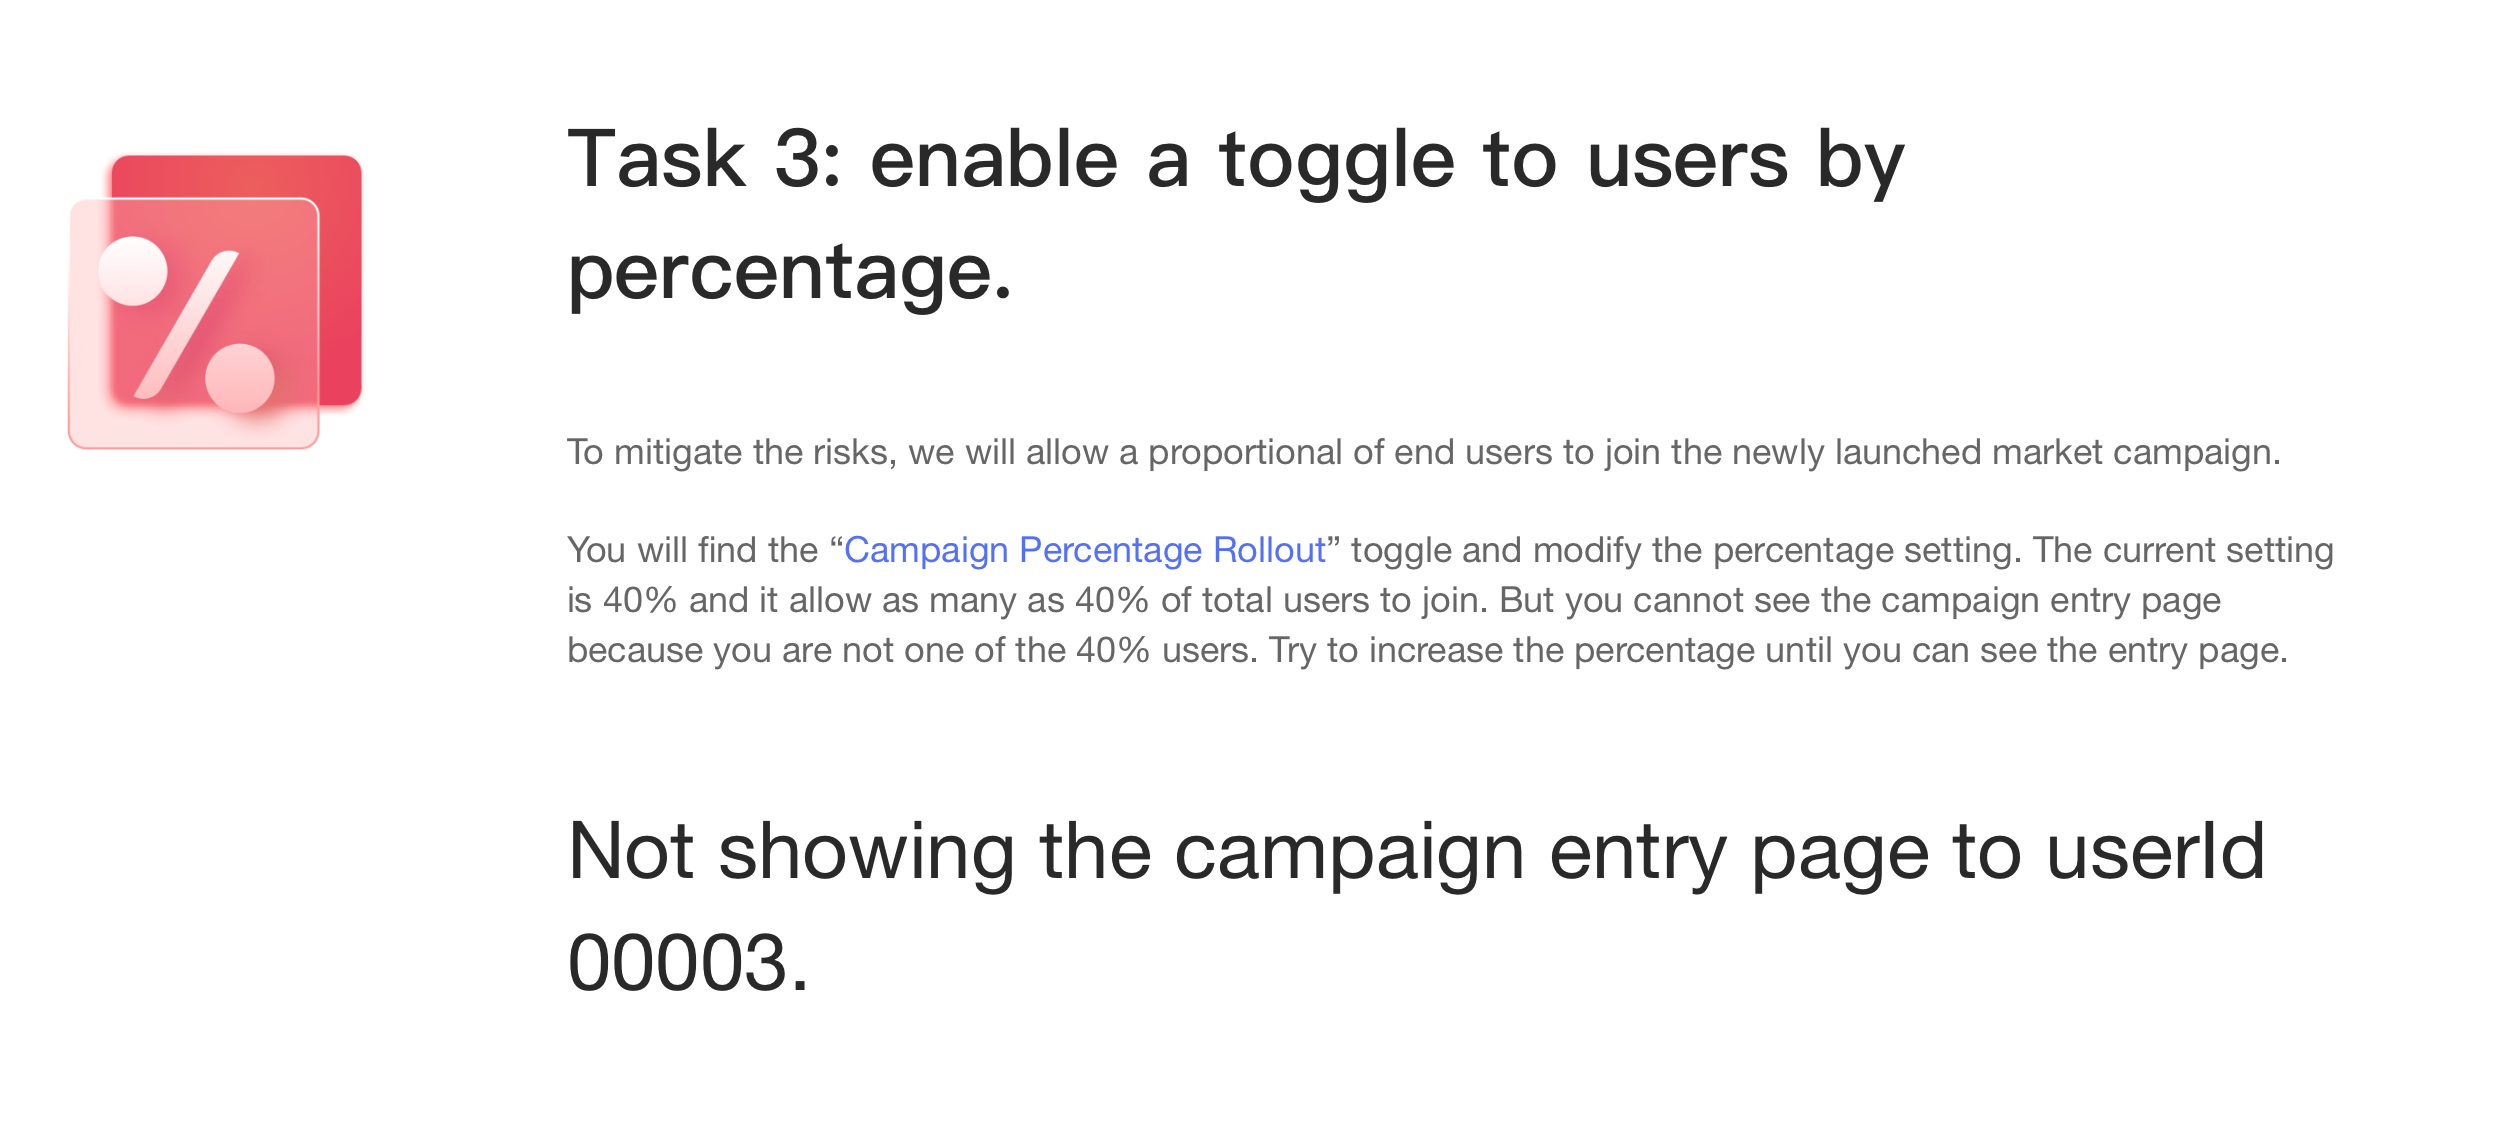
Becomes:
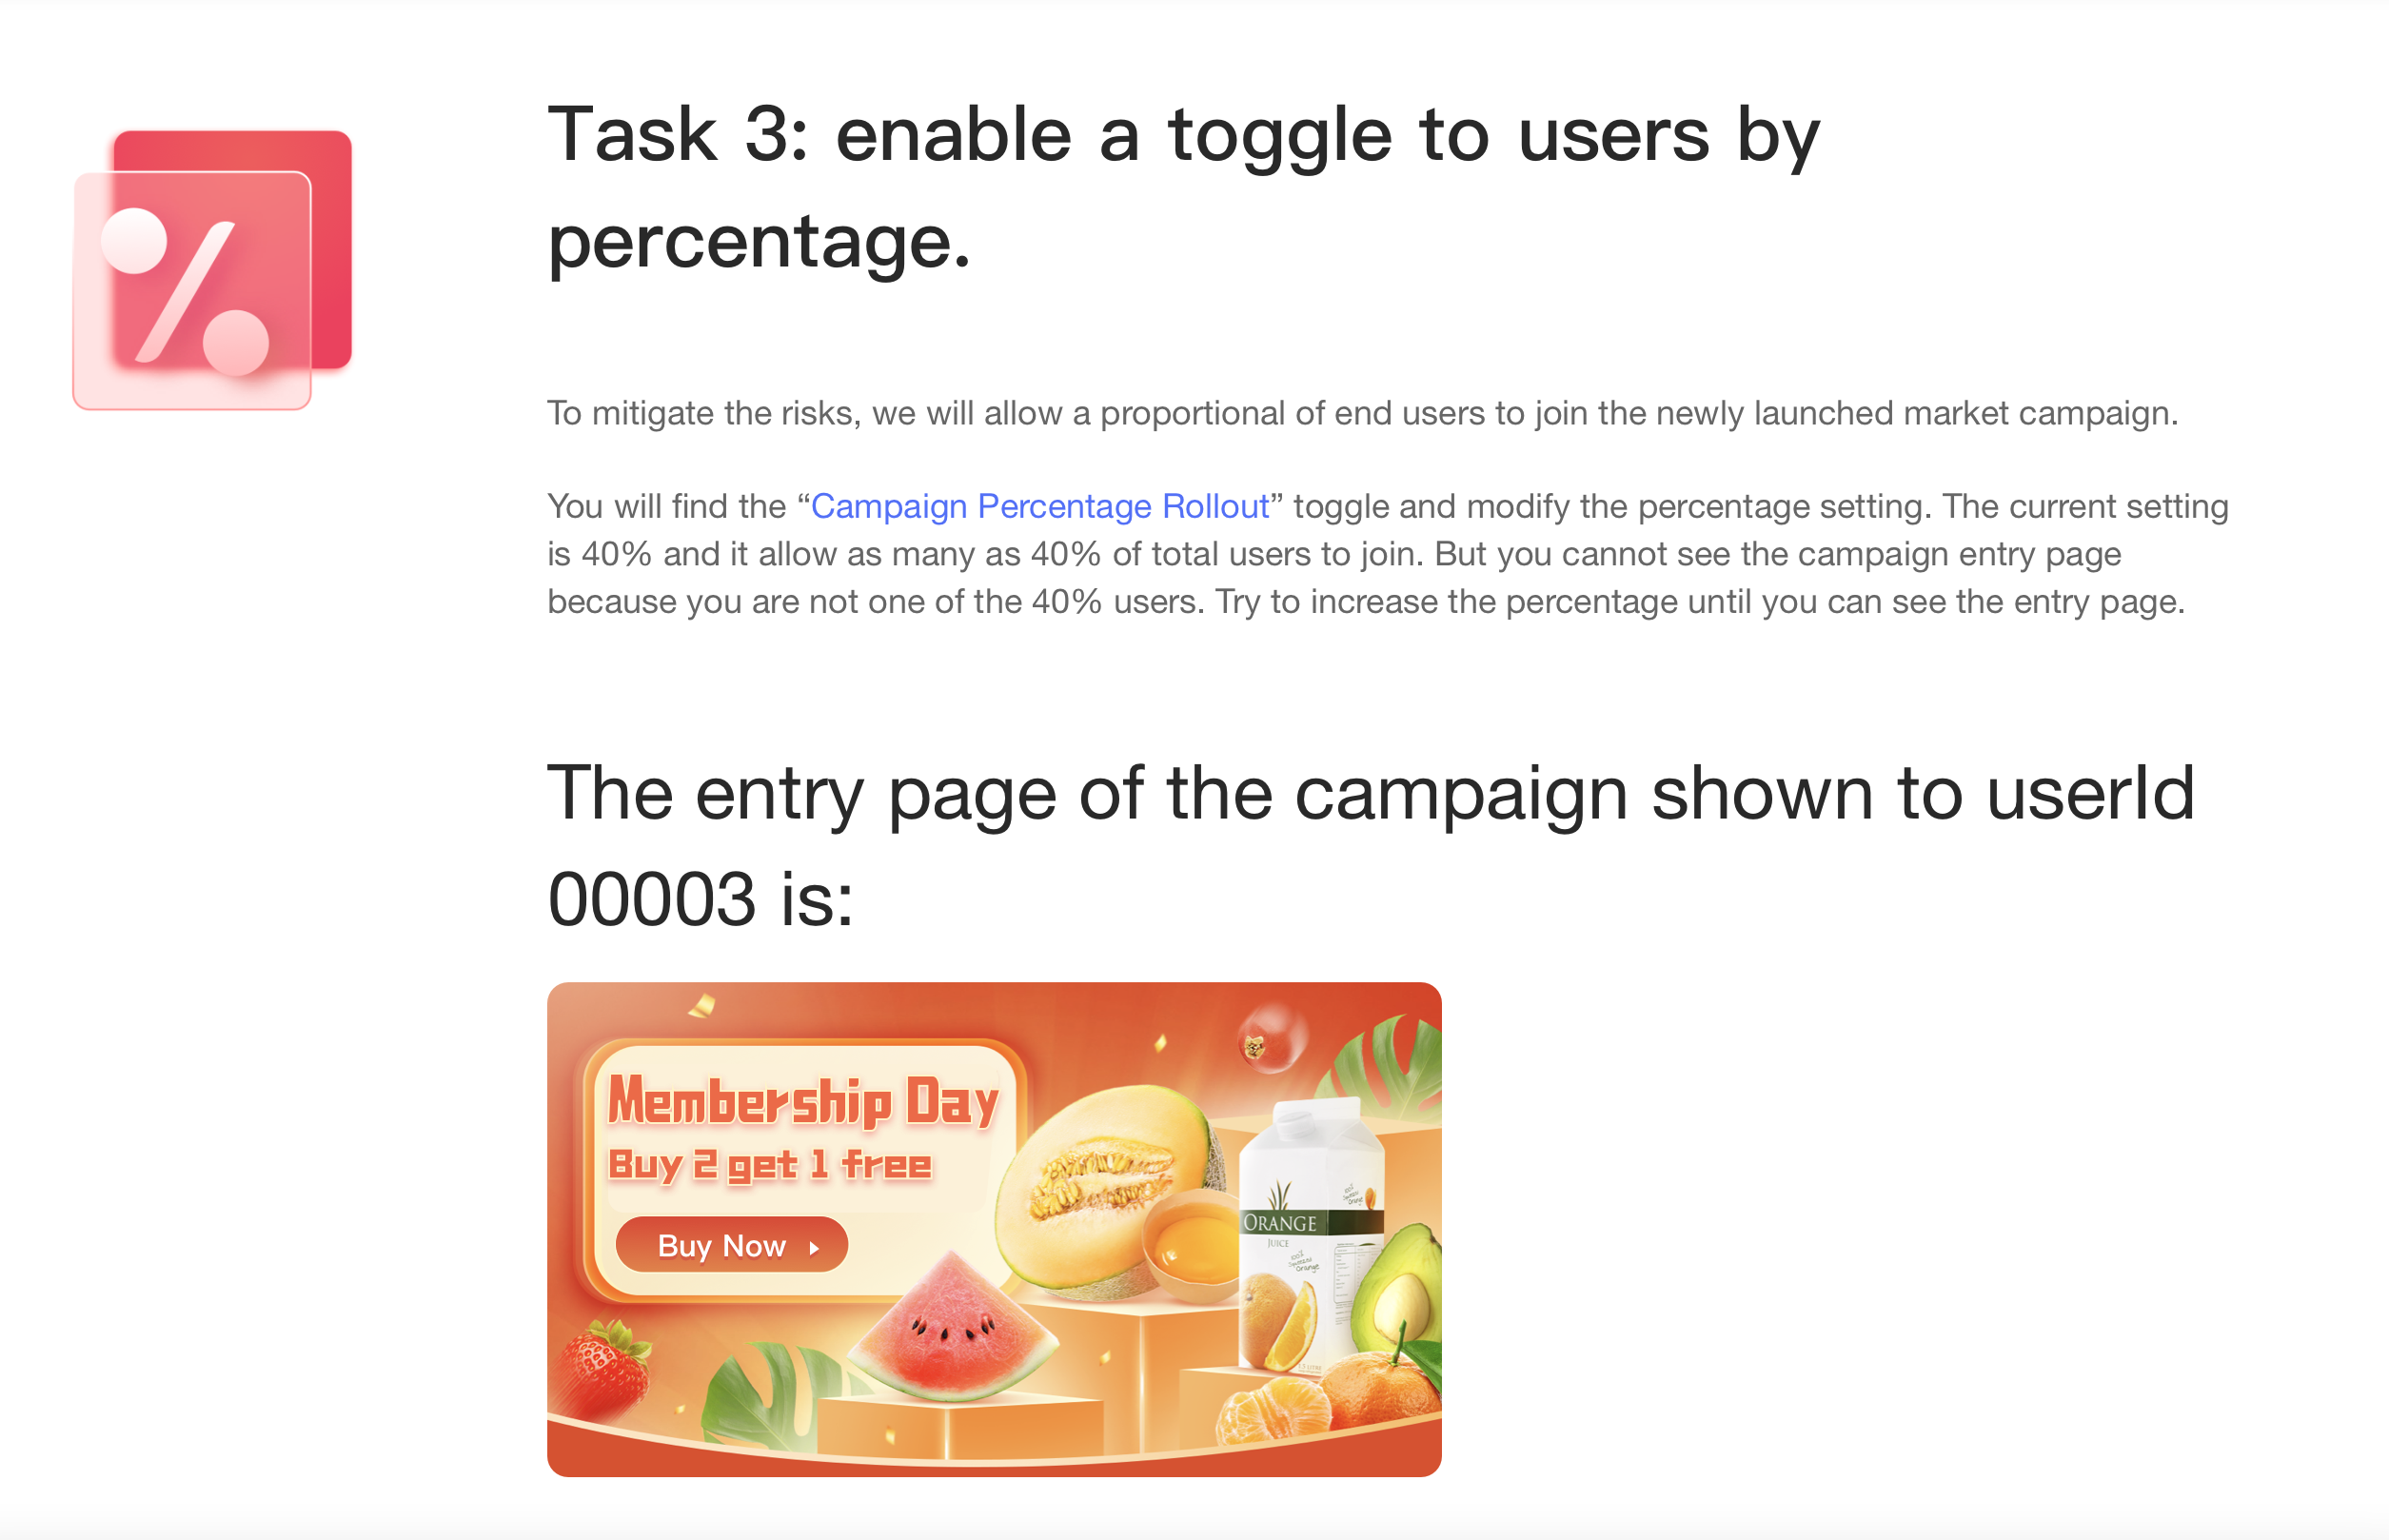
Add a return variation
Learn to add a return variation, let yourself (userId 00003) enter this new variation, and see the price set by this new variation.
Operate "Rule"
- From the fourth task on demo page, click to enter the toggle Promotion Campaign.
- In
Variations, click "Add Variation", name the newly added variation "another price" and set the value to 30.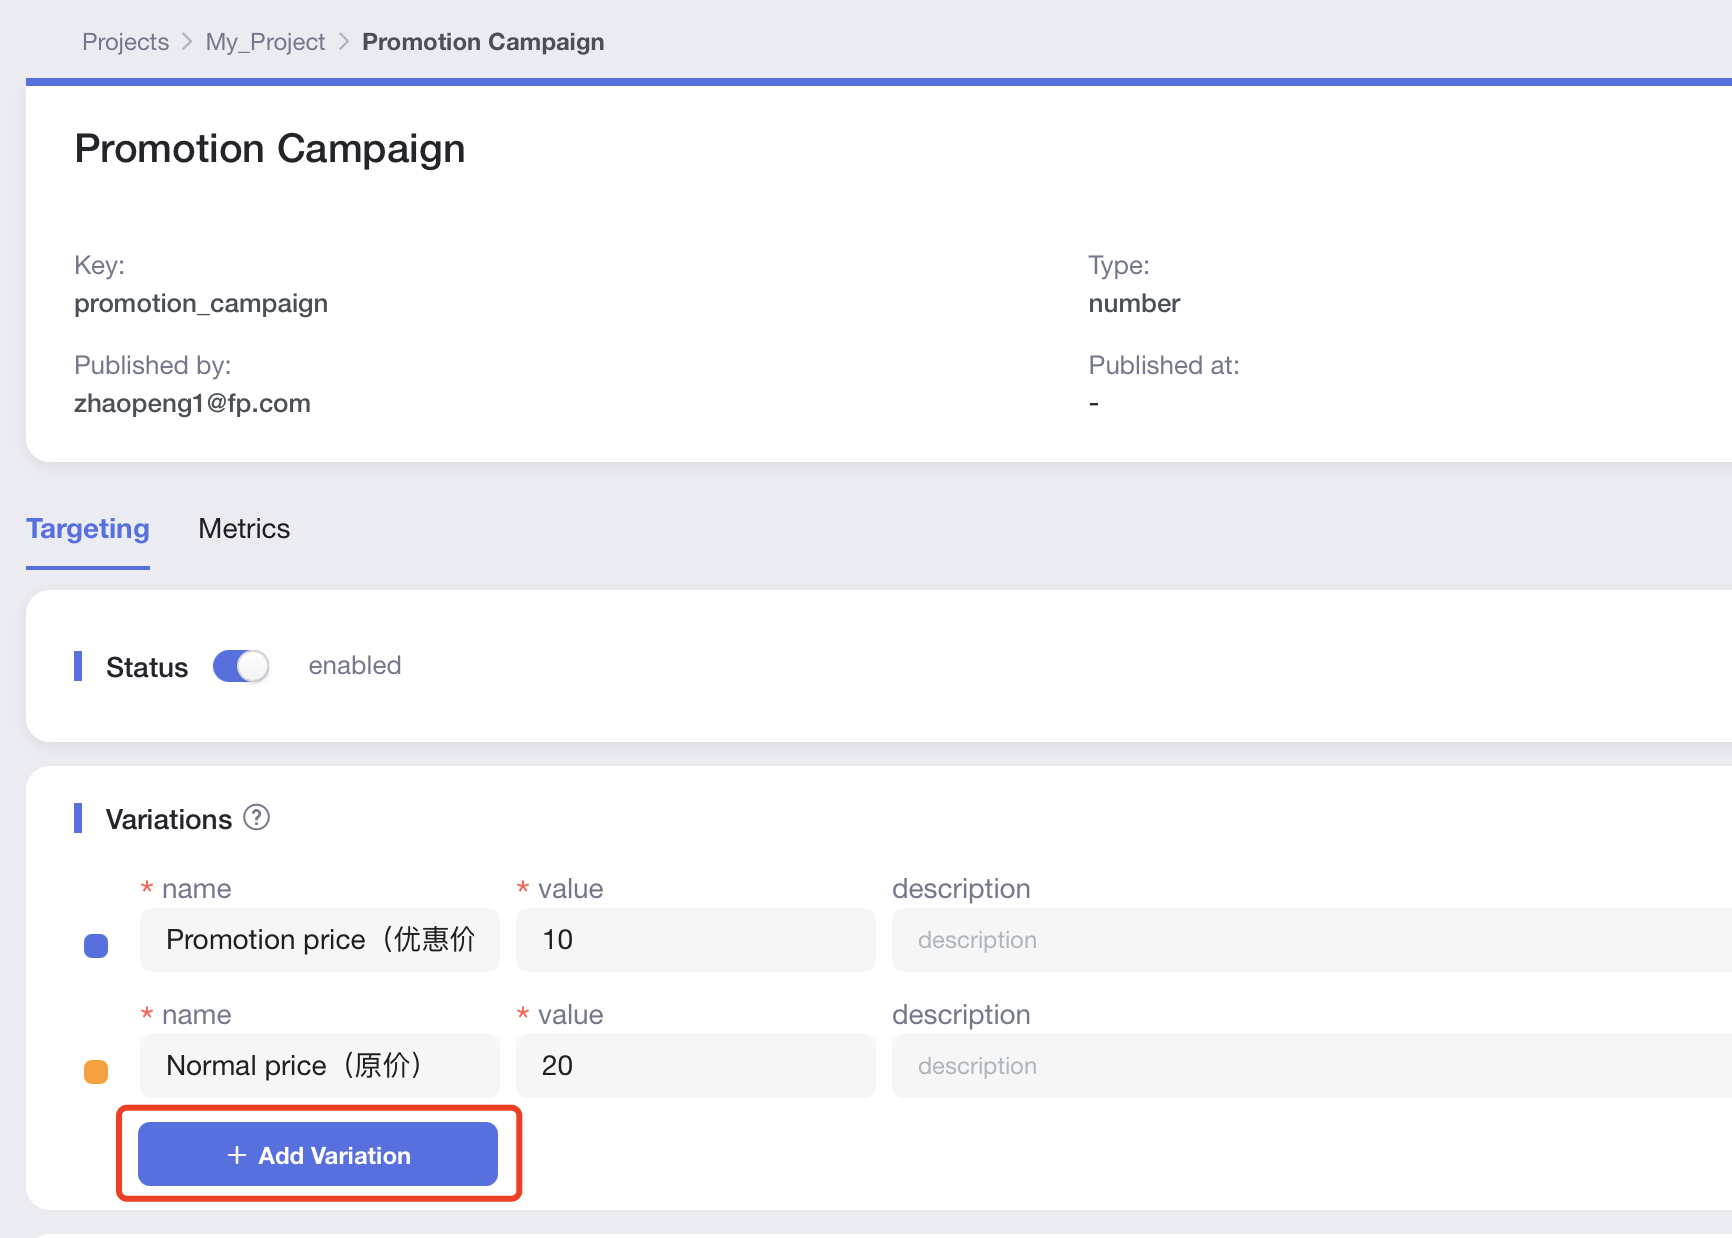

Giving a good name to the group can help you manage variation values better, and you can directly select the variation name in subsequent configurations. If the return value changes due to business changes, you only need to change the value of the variation in the variation settings, instead of modifying the return variation name in the rule.
Change the return value in
rule 2(the rule where user 00003 is located) to the newly created variation "another price".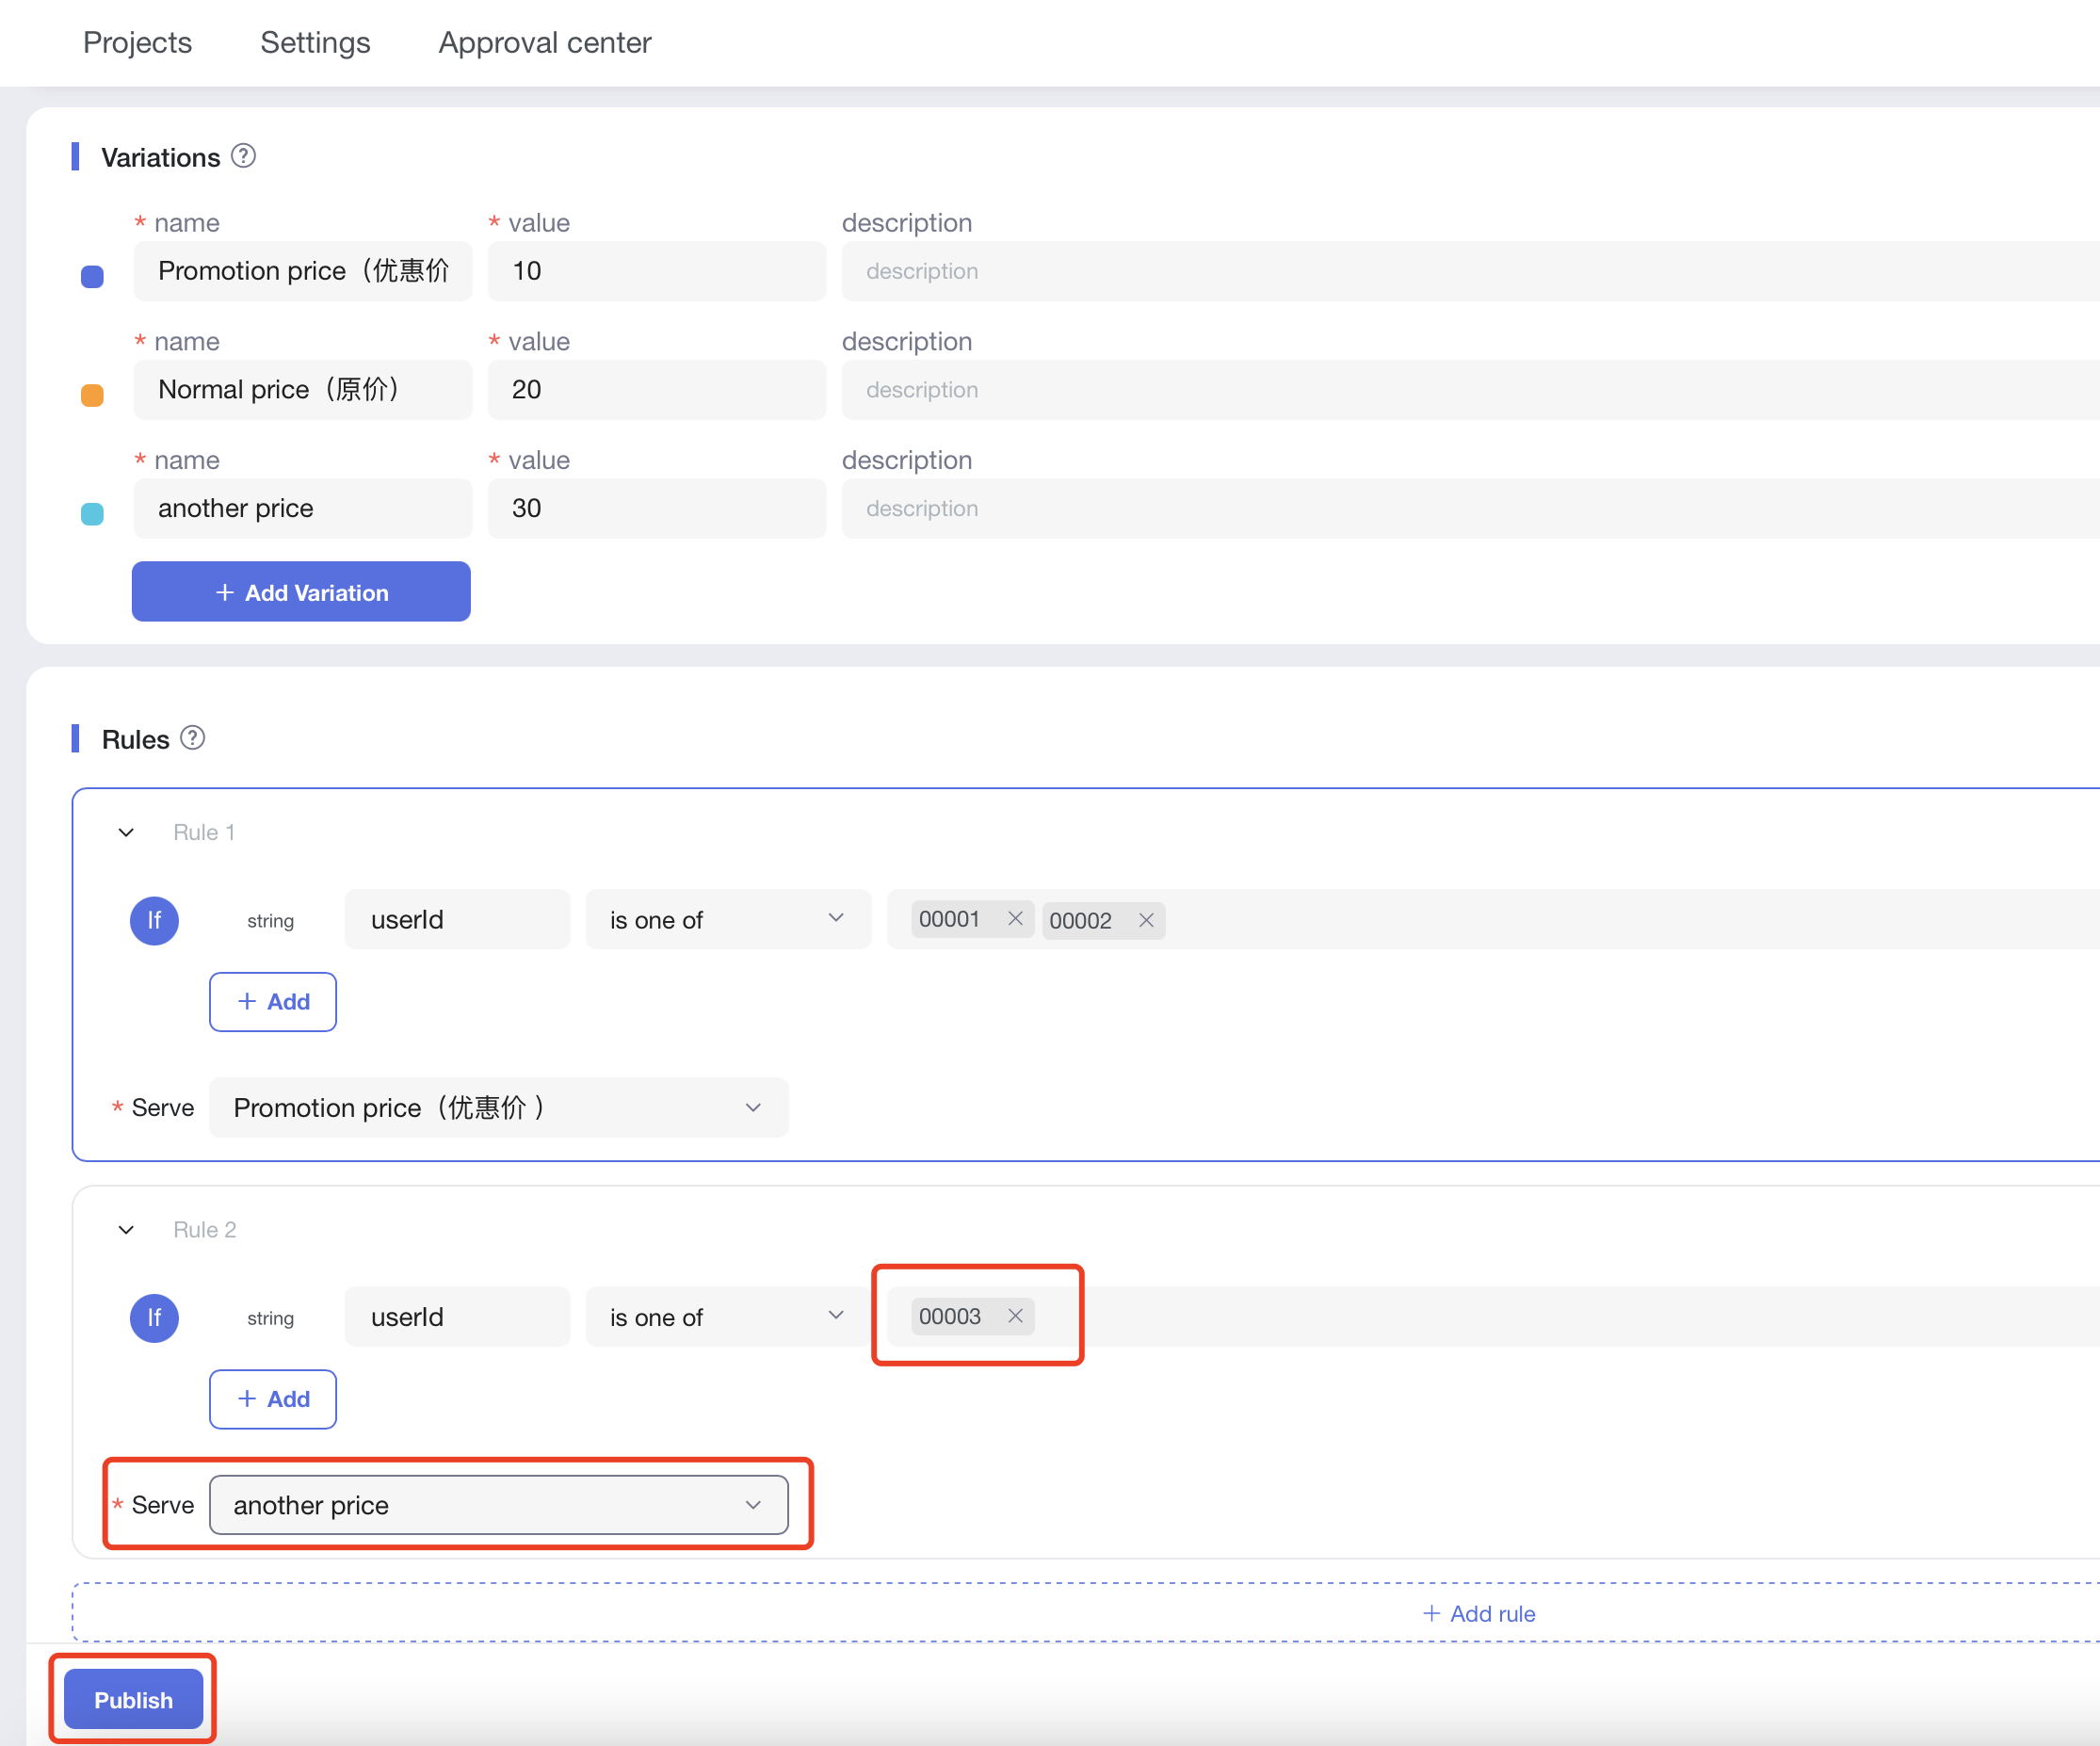
Click "Publish" below and "Confirm".
Validate result
Come back to the demo page: https://featureprobe.io/demo/, now you as a user with userId 00003 can see the page displayed by:
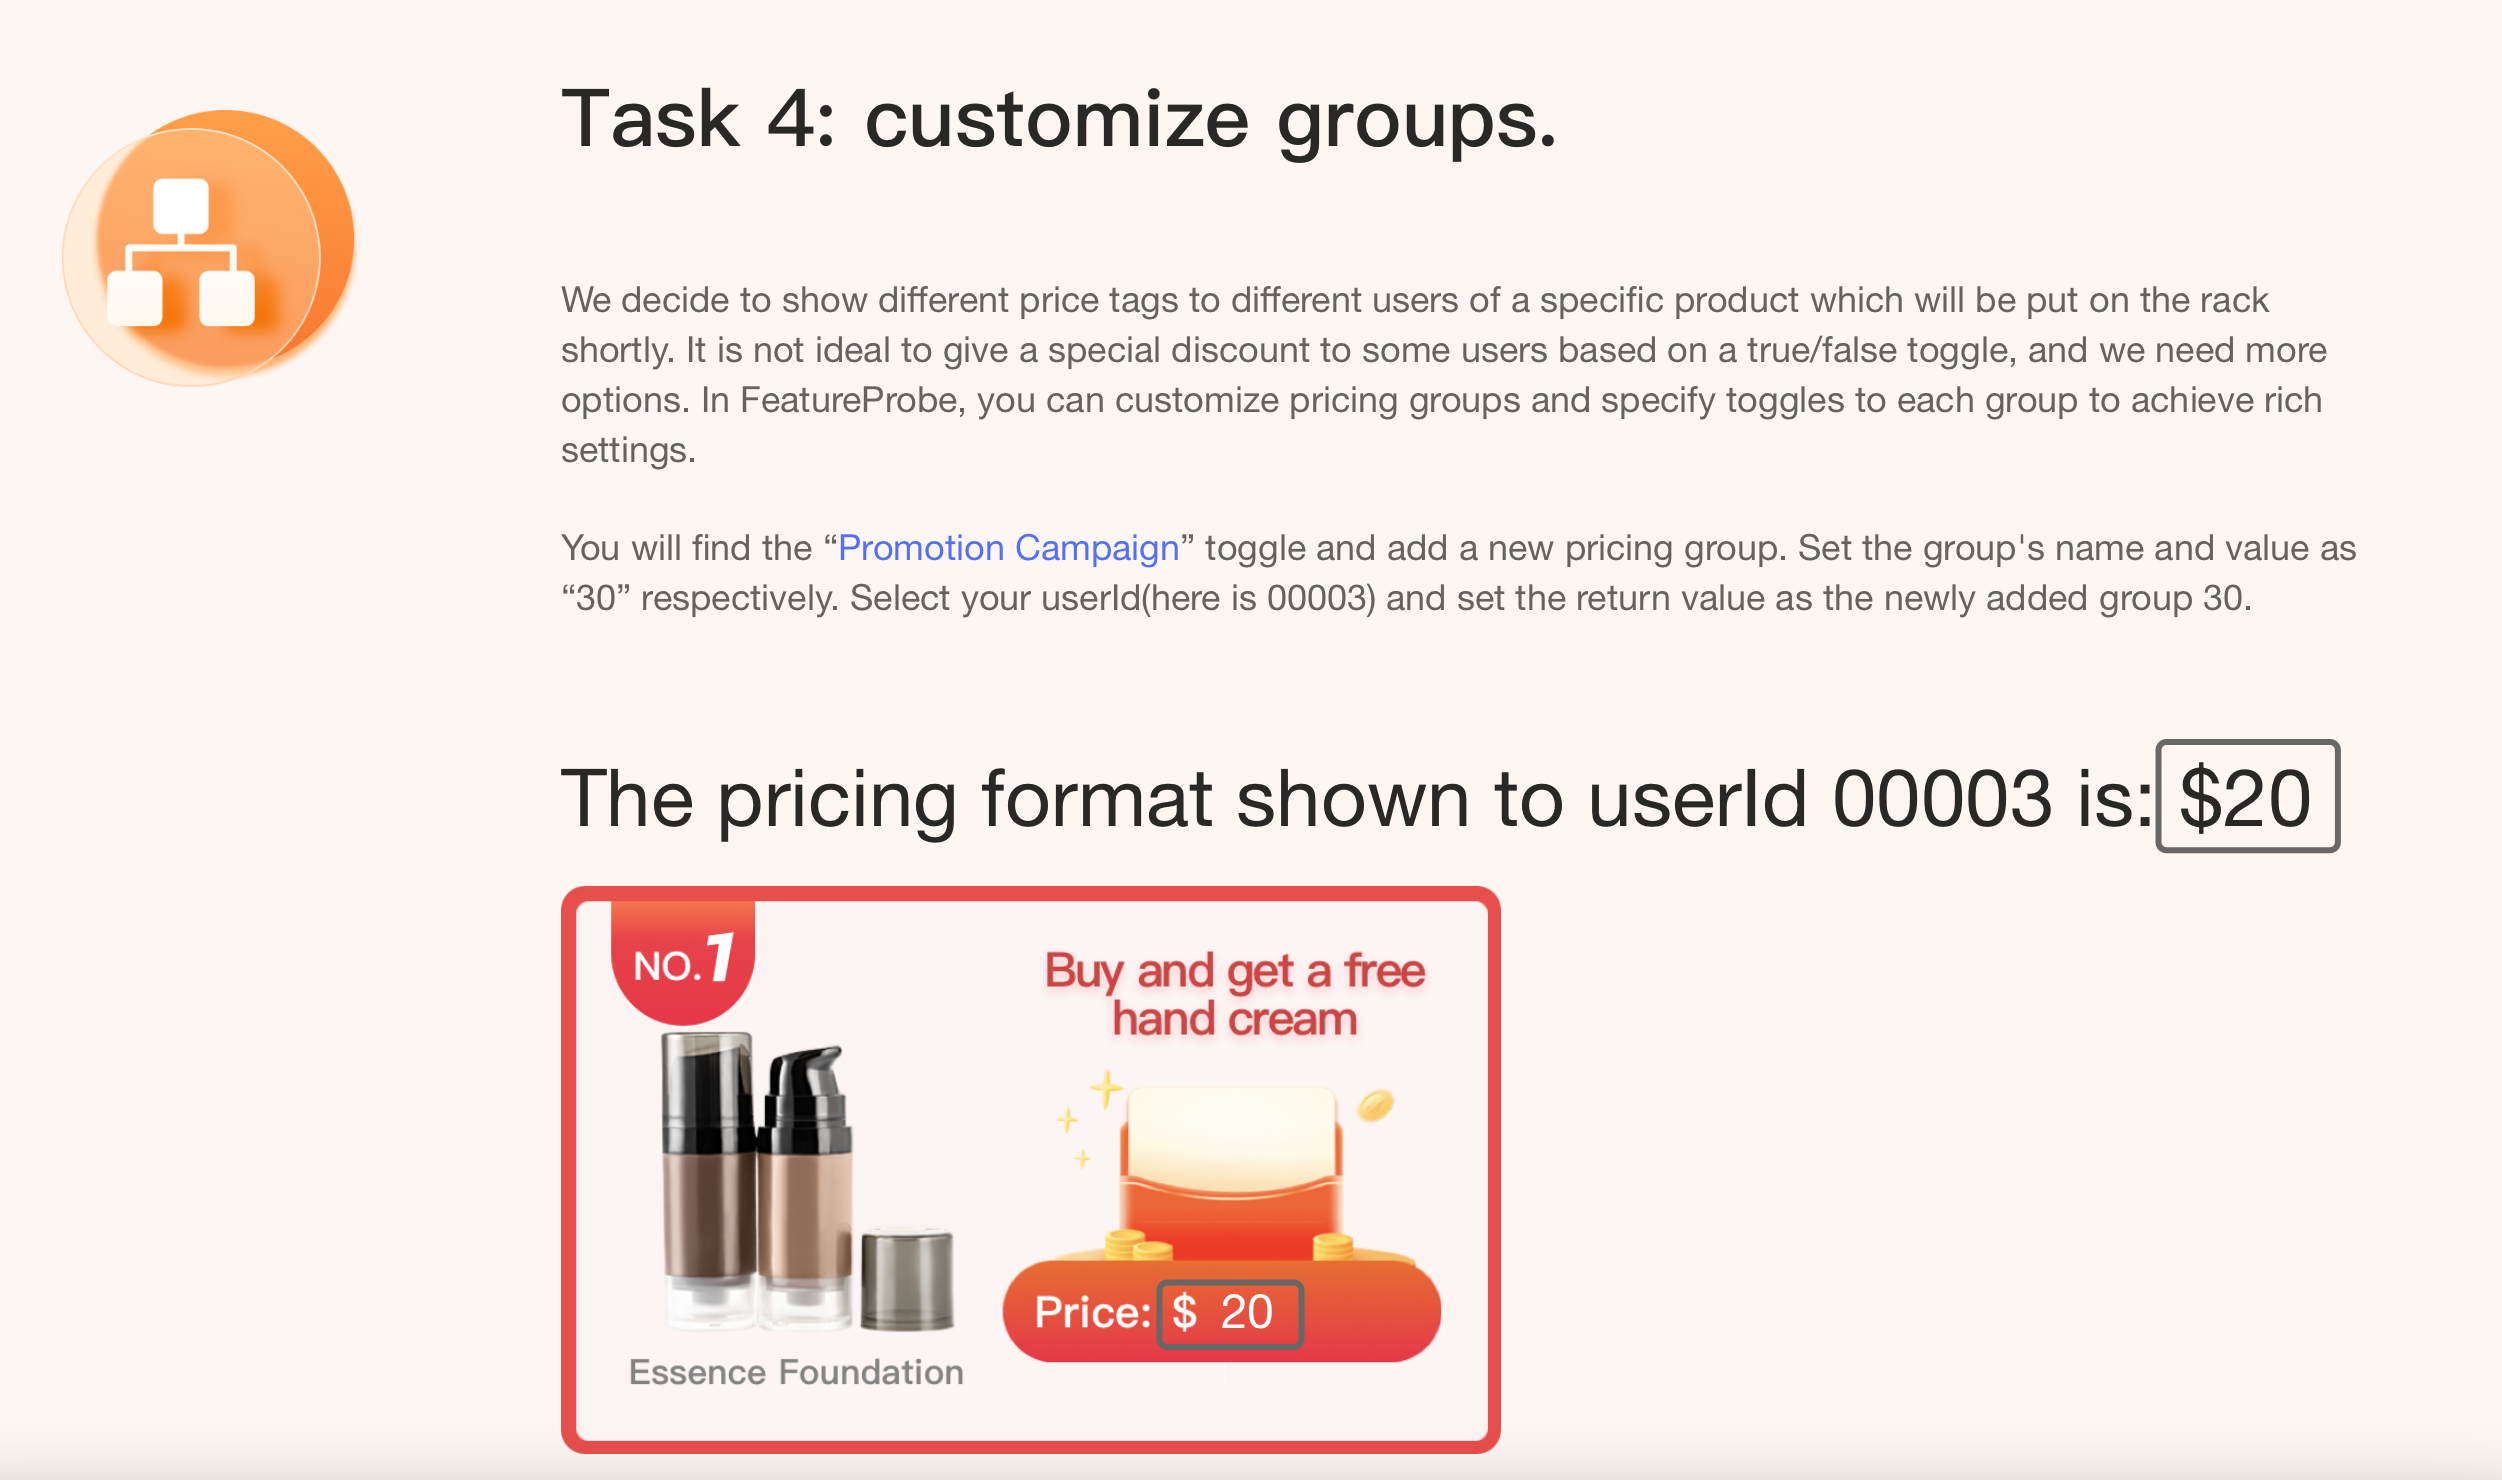
becomes:
